DRYWALL REPAIR
DRYWALL REPAIR in Greenville, SC.
A patch you can find from the doorway is not a repair. Matching plane, texture, and sheen so the eye passes right over it is the whole job. Spartan Painting Services repairs damaged walls and ceilings throughout Greenville, SC, from doorknob holes to full water-damaged sections.
WE FIX THE CAUSE, NOT JUST THE HOLE.
A brown ring on a ceiling means water arrived from somewhere. Nail pops mean framing moved. Recurring corner cracks mean something is still shifting. We look for the reason before we cut, so the patch is not simply a countdown to the same repair next year.
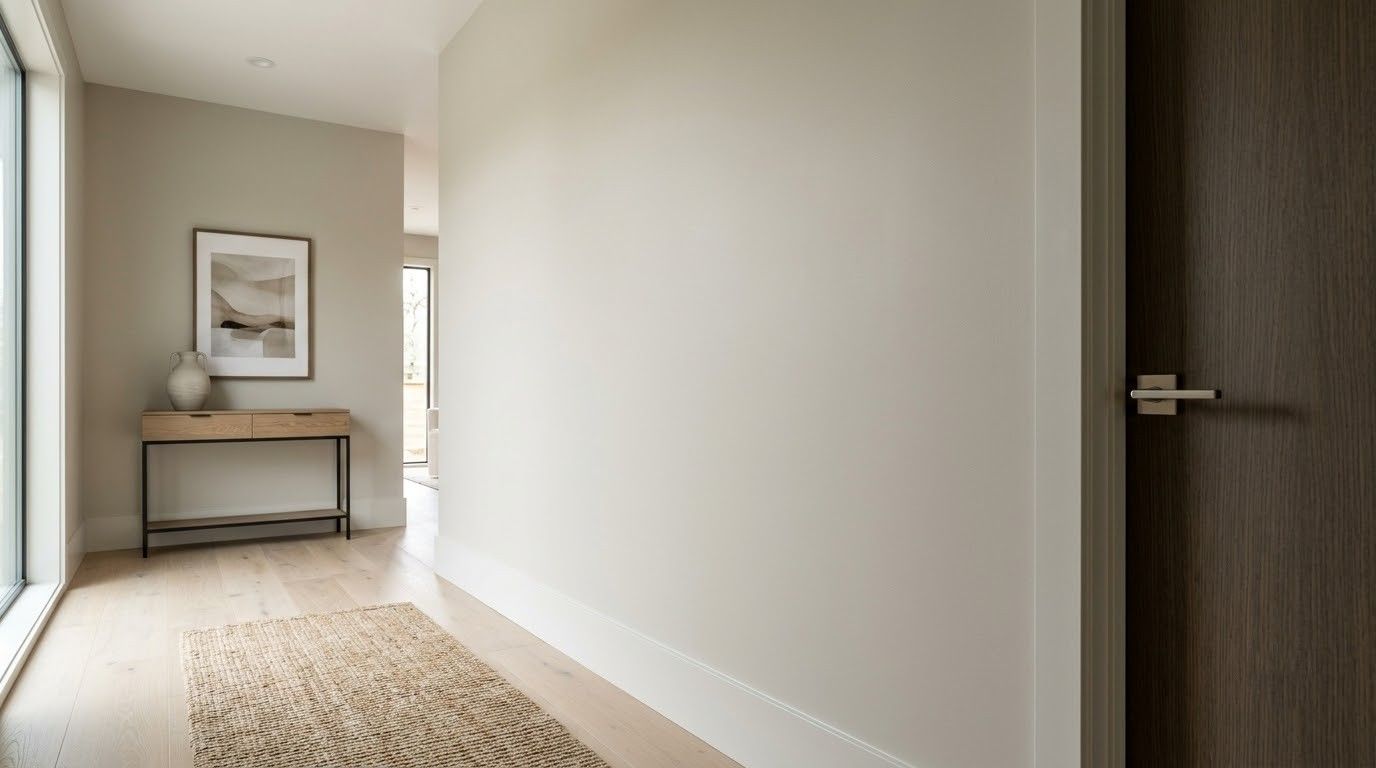
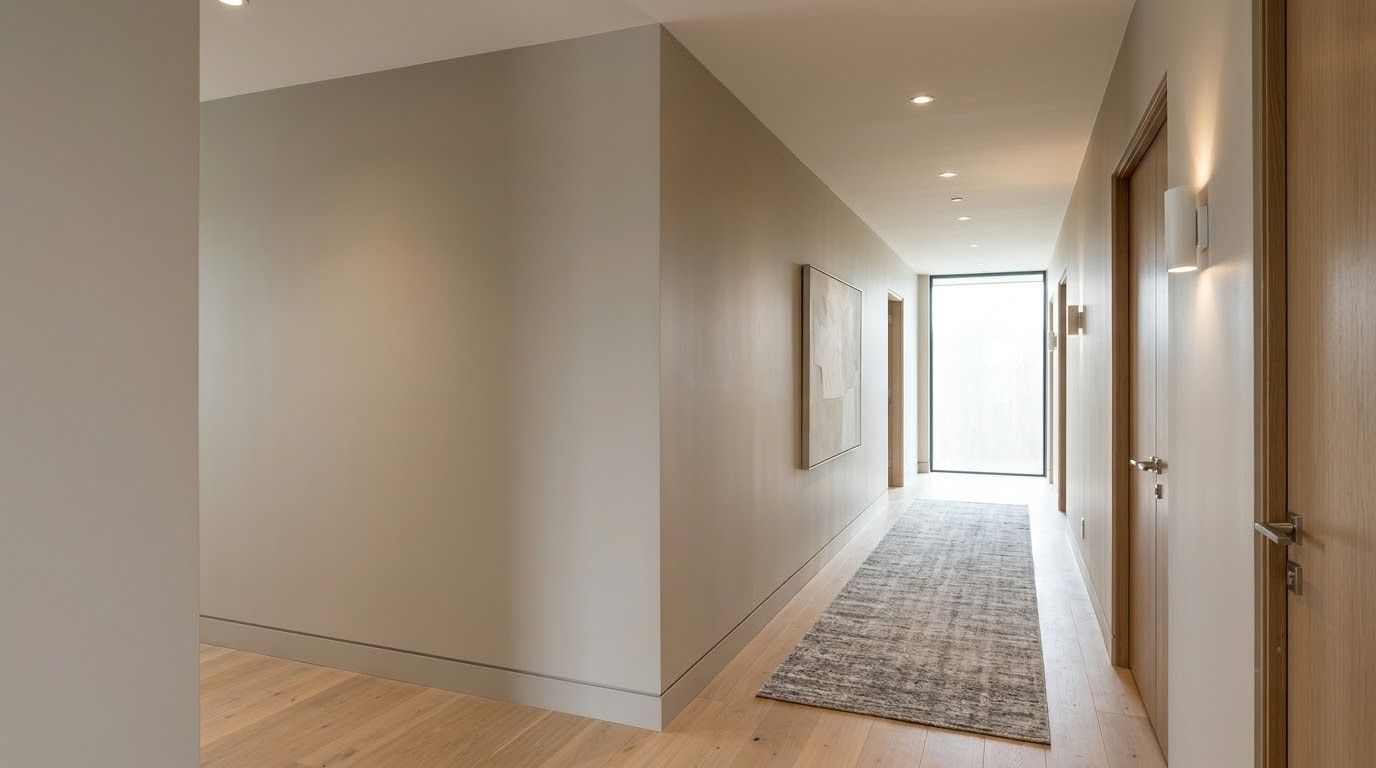
Then the visual work begins. Damaged material comes out to sound framing, new board goes in flush, joints are feathered wide, and the surrounding texture is matched before any primer touches the area.
- Source of damage identified before any patching
- Damaged board cut back to sound framing
- Joints feathered wide so patches disappear under light
- Existing texture matched, then primed and painted
DRYWALL REPAIR
A GOOD PATCH IS ONE YOU CANNOT FIND.
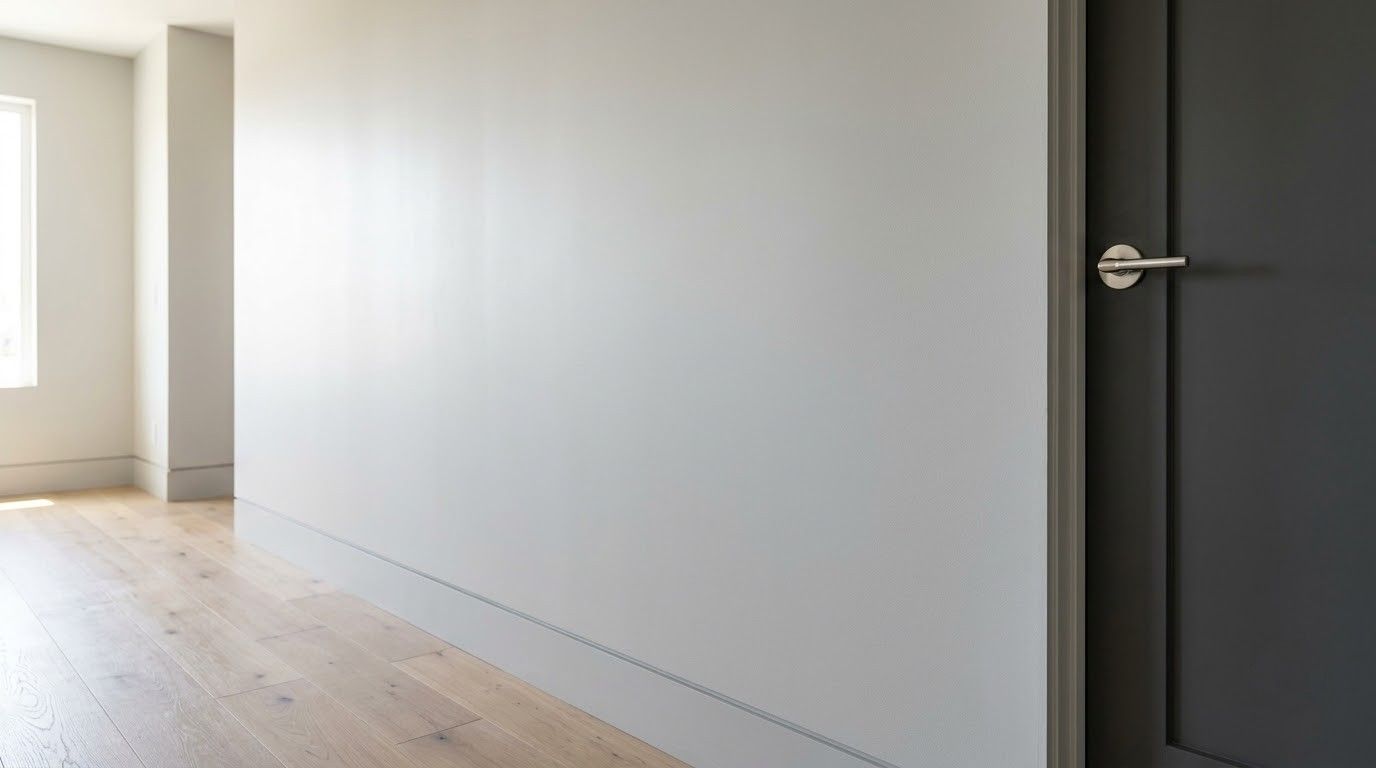
The failure mode of amateur repair is always the same: a slightly proud rectangle with a halo of different texture around it, obvious the moment afternoon light rakes across the wall. Avoiding that takes wide feathering, thin coats, and texture matched by hand rather than sprayed from a can and hoped for. Then a primed and repainted area blends into the wall instead of announcing itself.
OLDER UPSTATE HOUSES HIDE SURPRISES.
Greenville has a lot of housing stock built before drywall was standard, and plenty more from eras with distinctive textures. Behind a small hole you might find plaster and lath, blown-in insulation, or knob-and-tube runs nobody documented. We open carefully, work out what we are actually dealing with, and match repair methods to the wall in front of us instead of a generic approach.
10+ YEARS OF INVISIBLE PATCHES.
Enough repairs to have matched knockdown, orange peel, skip trowel, and dead-flat ceilings, and to know which ones can be blended and which require finishing a full wall to disappear. We tell you which situation you are in before starting, so nobody is surprised when a small patch needs a larger repaint to truly vanish. Have a wall you would rather stop noticing?
WHAT A PROPER REPAIR RESTORES
WALLS YOU STOP SEEING
The point of repair is that your eye goes back to the room instead of catching on the same spot every time you walk past it, which is exactly what proper feathering achieves.
DAMAGE THAT STAYS FIXED
Addressing the leak, the structural movement, or the fastener problem sitting behind the symptom means the repair actually holds, instead of quietly reopening in the same place next season.
PROTECTION FROM WHAT IS BEHIND
Open holes and soft, water-damaged board let humidity, pests, and conditioned air move freely between the wall cavity and your living space. Closing them properly puts a stop to all three at once.
A HOME THAT SHOWS WELL
Buyers and inspectors read visible wall damage as neglect and immediately start wondering what else got ignored. Clean, flat walls remove that question entirely before anyone thinks to ask it out loud.
NO FULL-ROOM REPAINT
Careful texture and sheen matching often keeps the work confined to a single section rather than the entire room, which saves both money and the disruption that a larger project always brings.
FAST RETURN TO NORMAL
Most repairs are contained to a small area and finished within a day or two of starting, so furniture goes back where it belongs and the room resumes its normal function almost immediately.
WHAT WE REPAIR
OUR DRYWALL REPAIR WORK.
Six repair types cover nearly everything we get called for. Each needs a different approach, and the estimate says which one your damage falls under.
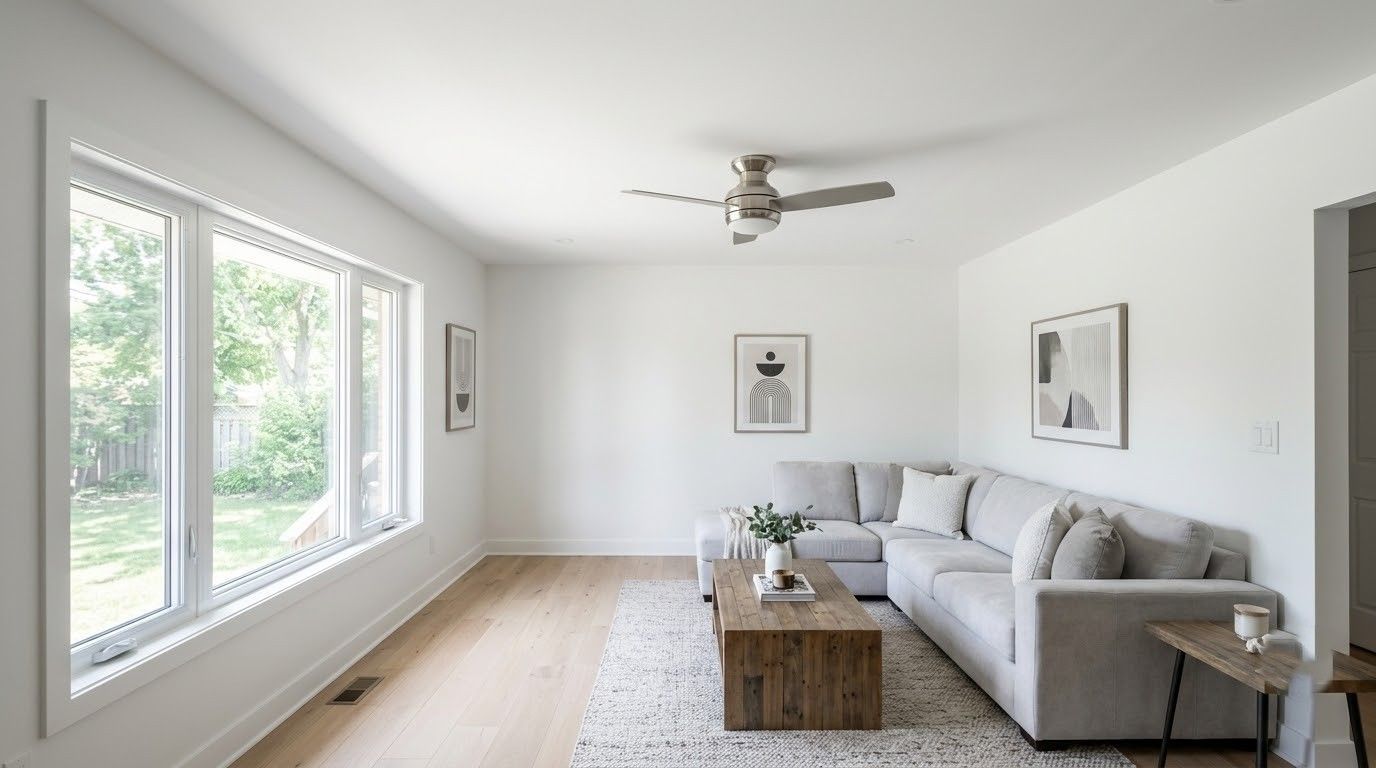
IMPACT DAMAGE
Holes, Dents, and Door Knocks
Anything from a doorknob strike to furniture damage during a move. Small holes get a properly backed patch, and larger ones get new board tied directly to framing so the finished section cannot flex.
WATER EVENTS
Leak and Flood Damage Repair
Stained, soft, or sagging material is removed entirely rather than dried out and painted over. The cavity behind it is inspected and allowed to dry completely before any new board is installed.
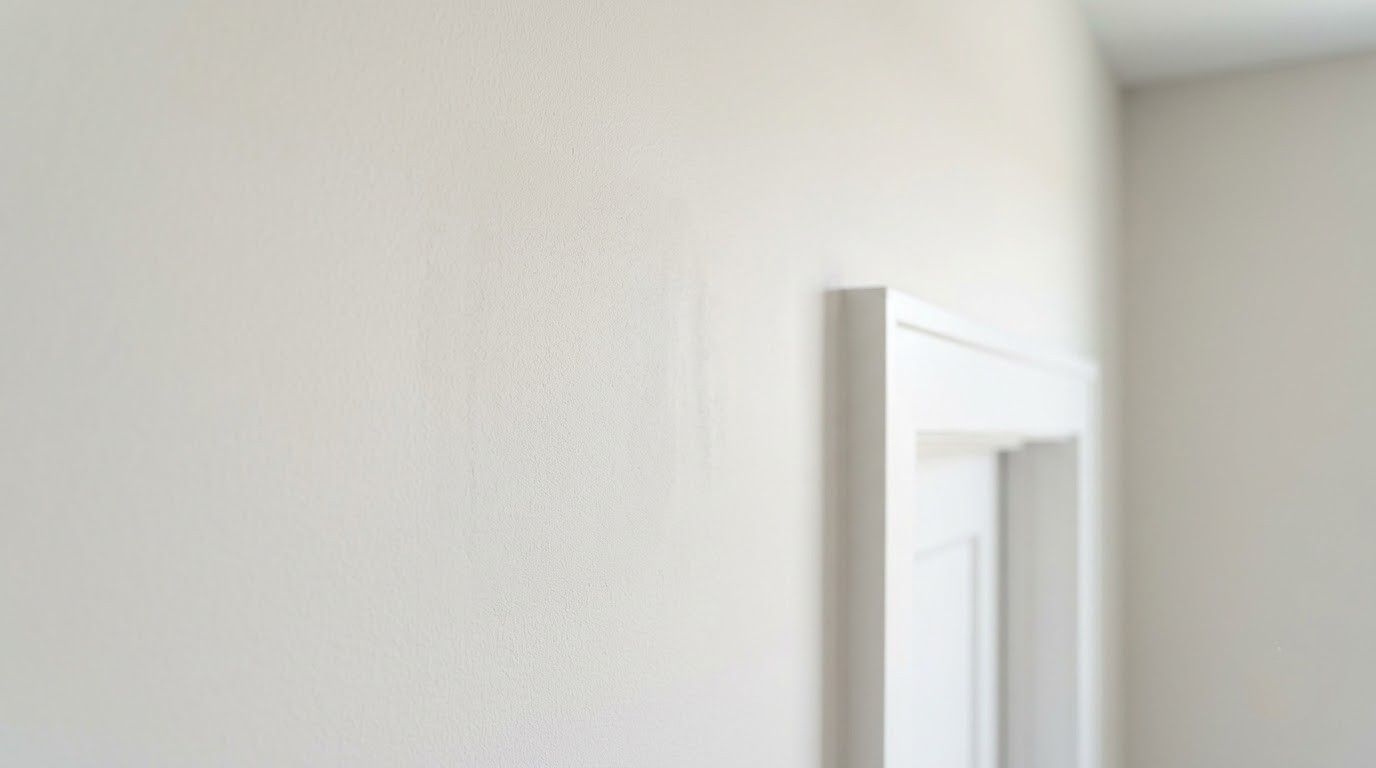
MOVEMENT CRACKS
Settling and Seam Cracks
Cracks at corners, door headers, and old taped seams are opened up, retaped with a material suited to movement, and coated in thin successive passes so they do not simply reappear next winter.
FASTENER ISSUES
Nail Pops and Screw Repairs
Popped fasteners are refastened into solid framing beside the original, the old head is removed or reset below the surface, and the area is coated in stages so the wall returns completely flat.
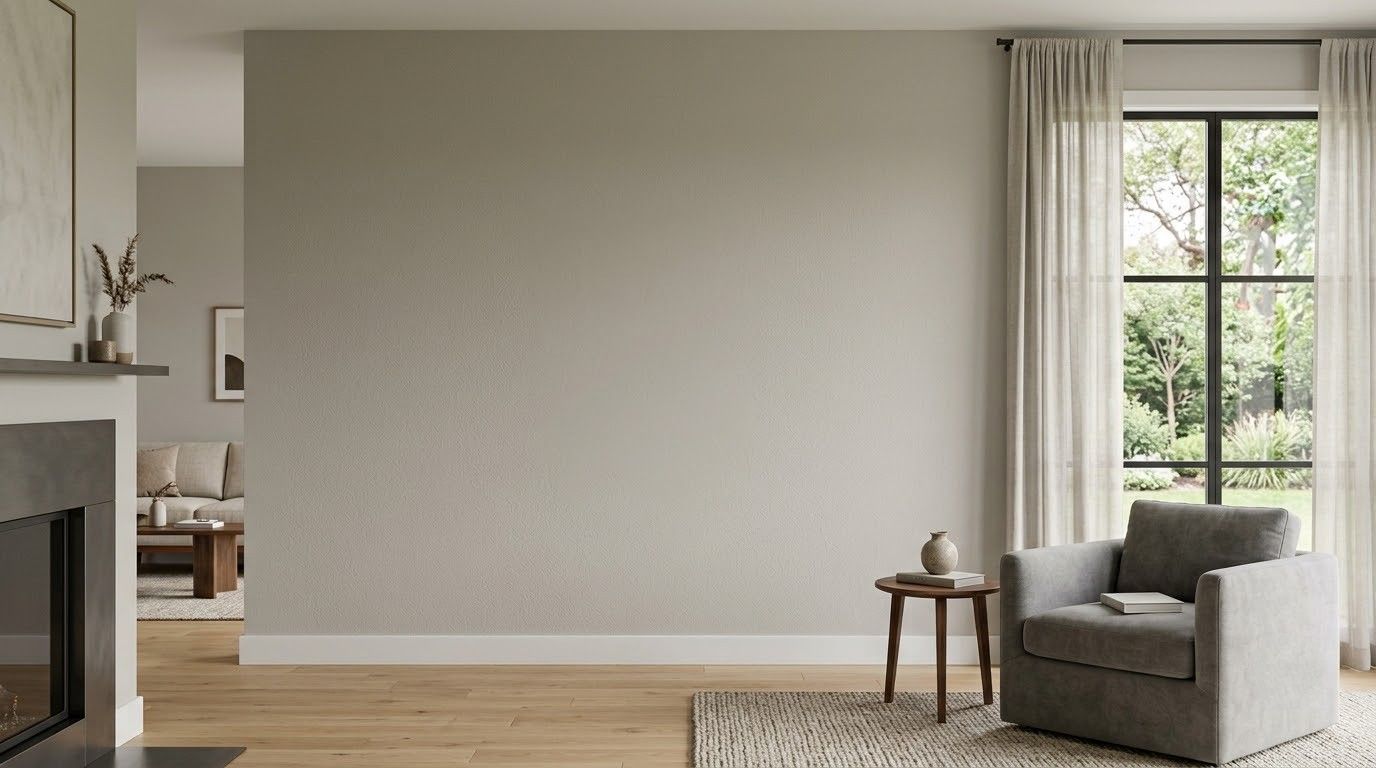
SURFACE MATCH
Texture Matching and Blending
Knockdown, orange peel, and hand-troweled finishes are recreated directly on the patch and blended outward into the field. This is what separates a professional repair from an obviously visible one.
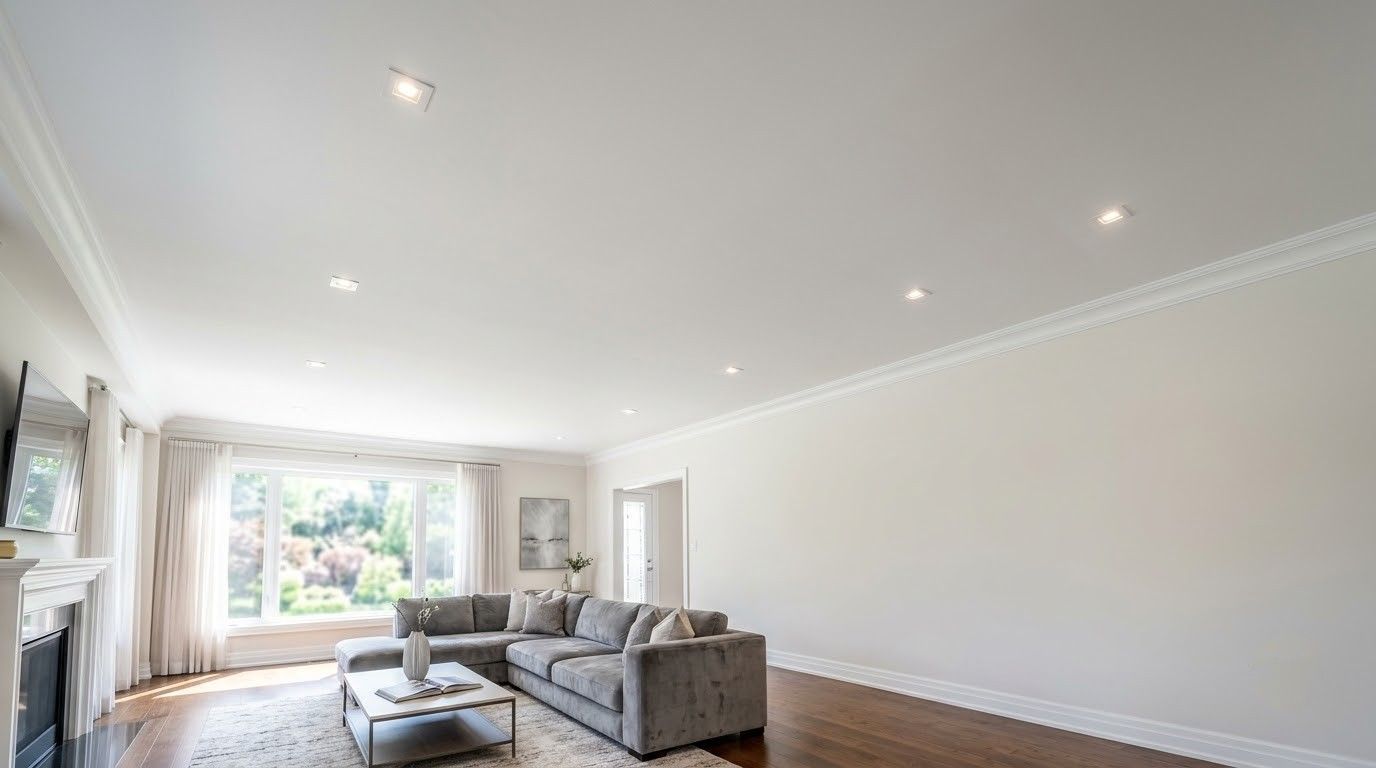
CEILING WORK
Ceiling Patches and Sagging Repair
Overhead work shows every flaw because of side lighting from windows and fixtures. Sagging sections are refastened or replaced outright, and joints are feathered extra wide to keep the plane reading flat.
Common Questions
frequently asked
questions.
Repair questions usually center on whether the damage can be patched at all, how long the work takes, and whether the finished fix will be visible afterward. Here are the answers.
How long does drywall repair take?
Small patches finish in a day. Larger sections and ceilings need 2 to 3 days because each coat of compound has to dry before the next, and texture matching adds another step.
Can water-damaged drywall be repaired or must it be replaced?
If the board is soft, stained through, or crumbling, it comes out. Surface staining on firm board can sometimes be sealed and refinished, but only after the source is fixed and everything is dry.
What causes nail pops in drywall?
Framing shrinking or moving as it dries, usually in the first couple of years after construction. The fastener stays put while the board shifts, pushing the head through the surface.
Why do cracks keep coming back in the same spot?
Because something behind the wall is still moving. Structural settlement, seasonal expansion, or an untaped joint will reopen any patch until that joint is retaped with material designed to flex.
Can you match my existing wall texture?
Usually yes. Knockdown, orange peel, and hand-troweled textures are all matched by hand on site. Across 10+ years in Greenville, SC, Spartan Painting Services has rarely needed a full wall refinish.
Will I need to repaint the whole wall after a repair?
Sometimes. Paint fades and shifts sheen over time, so a spot repaint can read slightly different in daylight. Repainting corner to corner guarantees an invisible result on walls with noticeable age.
Is drywall repair something I can do myself?
Small nail holes and shallow dents, certainly. Anything requiring texture matching, wide feathering, or new board tied into framing tends to be exactly where do-it-yourself repairs become permanently visible on the wall.
How do I know if the damage is structural?
Doors that stopped closing, cracks wider than a credit card, and repeated failures in the same joint all point past drywall. Spartan Painting Services flags those in Greenville, SC homes rather than covering them.
We Measure the Opening
STEP 02
Our team takes accurate field measurements of the existing opening, frame, and threshold, since even small discrepancies can cause ordering errors or installation delays later in the process.
HOW WE WORK
FROM FIRST LOOK TO INVISIBLE FINISH, HERE IS HOW.
STEP 01
Diagnose Before Cutting
We inspect the visible damage and look hard for the reason behind it, checking for moisture, structural movement, and framing issues so the repair addresses an actual cause rather than only its visible symptom.
STEP 02
Contain the Work Area
Plastic goes up, floors and furniture get covered, and the vents in the room are sealed off. Drywall dust travels much further than people expect, and containment is far easier than cleanup afterward.
STEP 03
Cut Back to Sound Material
Damaged board is removed back to solid framing on both sides, the edges are squared, and backing is added wherever none exists so the new piece has something firm and solid to fasten into.
STEP 04
Patch, Tape, and Coat
New board goes in flush with the surrounding surface, joints are taped, and compound is applied in thin coats feathered well beyond the patch. Each coat dries fully before the next one is applied.
STEP 05
Match the Texture
Existing texture is recreated on the repair and blended outward into the surrounding surface. This step is always done by hand and checked in raking light before anything at all gets primed or painted.
STEP 06
Prime, Paint, and Clean Up
The repair is primed so it does not flash through the finish coat, then painted out to blend. Containment comes down, the area is vacuumed thoroughly, and your furniture goes back into place.