CABINET PAINTING
CABINET PAINTING in Greenville, SC.
A dated kitchen is usually a finish problem, not a layout problem. The boxes are solid, the doors close square, and the color is simply from another decade. Spartan Painting Services resprays kitchen and bath cabinetry across Greenville, SC, so the room changes without the demolition.
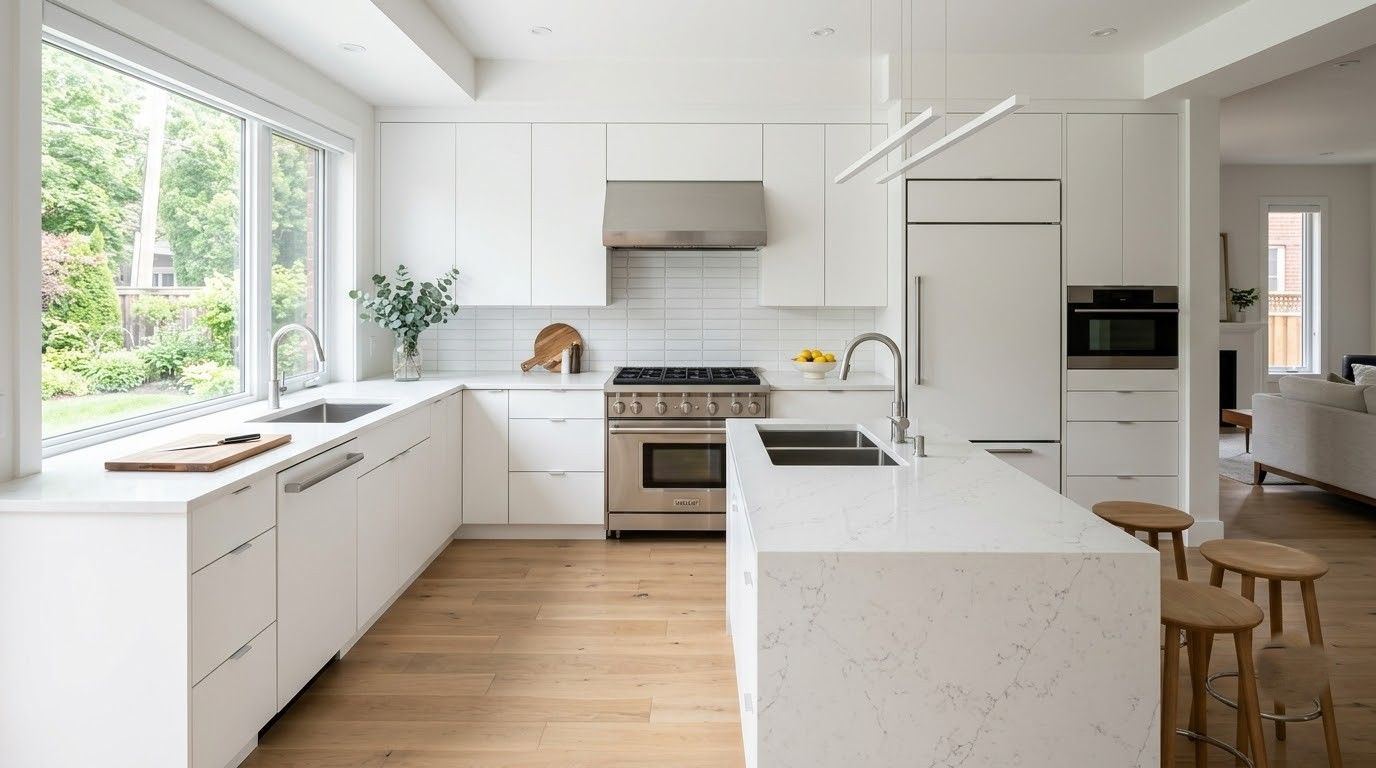
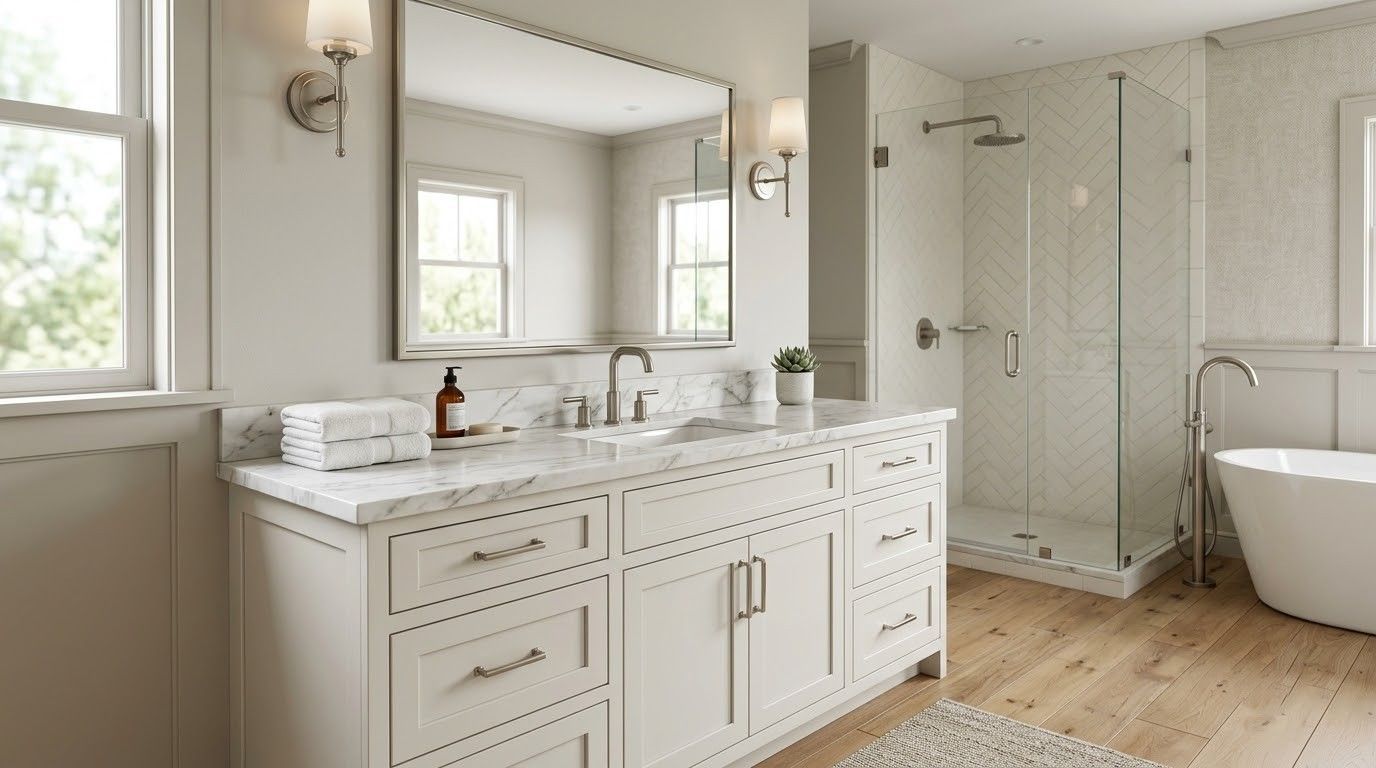
A SPRAYED FINISH IS A DIFFERENT ANIMAL.
Brushed cabinet paint tells on itself. You see the stroke marks in raking light, feel the ridges under your fingers, and watch the edges chip within a year. We take doors and drawers off, degrease them, sand the sheen down, prime with a bonding product, and spray the topcoat in a controlled setup so the surface comes back smooth and hard.
Boxes get the same treatment in place, with the kitchen sealed off and floors and counters fully protected. Nothing else in the house wears a coat of overspray.
- Doors, drawers, and hardware removed and labeled
- Degreased, sanded, and bonding primed before color
- Sprayed topcoats with no brush or roller texture
- Kitchen sealed off and counters protected throughout
CABINET PAINTING
YOUR KITCHEN CAN CHANGE WITHOUT LEAVING THE HOUSE.
Replacing cabinetry means weeks without a kitchen, new countertops because the old ones will not survive removal, and a bill that rivals a small addition. Refinishing skips almost all of it. The same boxes get a new color, new hardware if you want it, and a finish rated for daily contact. Most kitchens are back in service in under a week, and the result reads as new cabinetry to anyone walking in.
HUMIDITY MAKES CABINET PREP NON-NEGOTIABLE.
Upstate kitchens run humid, and steam from cooking sits on doors above the range every night. That moisture will find any spot where the primer did not bond, and it lifts finishes from the edges inward. We degrease with a proper cleaner rather than dish soap, scuff every surface, and use primers formulated for slick factory coatings, because shortcuts here fail visibly within a single South Carolina summer.
10+ YEARS OF CABINET REFINISHING.
Enough kitchens to know that thermofoil needs a different approach than maple, that oak grain will telegraph through unless it is filled, and that the door above the coffee maker takes more abuse than any other. That experience is why our finishes hold at the hinge edges and around the pulls, where cheap cabinet jobs give out first. Curious what your kitchen would look like in a different color?
WHAT A REFINISHED KITCHEN GIVES YOU
A NEW ROOM FOR LESS
The visual change matches a full cabinet replacement at a fraction of the outlay, which frees real budget for the counters, backsplash, or lighting upgrades you would otherwise have to postpone another year.
DURABILITY AT THE PULLS
Properly bonded and fully cured finishes take fingernails, rings, and cleaning sprays around the handles without wearing through to bare primer the way a quick brushed-on job always does.
NO KITCHEN EXILE
Work is staged so the sink, refrigerator, and range stay reachable through most of the project, and the room comes back to you in days rather than the weeks a full remodel demands.
ANY COLOR YOU WANT
Factory cabinet lines limit you to whatever sits in their catalog. Refinishing puts the entire fan deck on the table, including two-tone layouts with a deeper color carried across the island.
LESS WASTE, LESS DEMOLITION
Solid boxes stay out of the landfill, walls stay uncut, and there is no chance of discovering plumbing or electrical surprises behind a cabinet run that never needed to move in the first place.
RESALE THAT NOTICES
Kitchens sell houses, and a crisp, consistent cabinet finish photographs far better in a listing than tired stain with worn edges around every handle and a dark cast under the uppers.
WHAT WE REFINISH
OUR CABINET PAINTING WORK.
Six kinds of cabinetry cover nearly every request that comes through. Each one gets its own prep sequence, because what bonds to oak will not necessarily bond to laminate.
HEART OF HOME
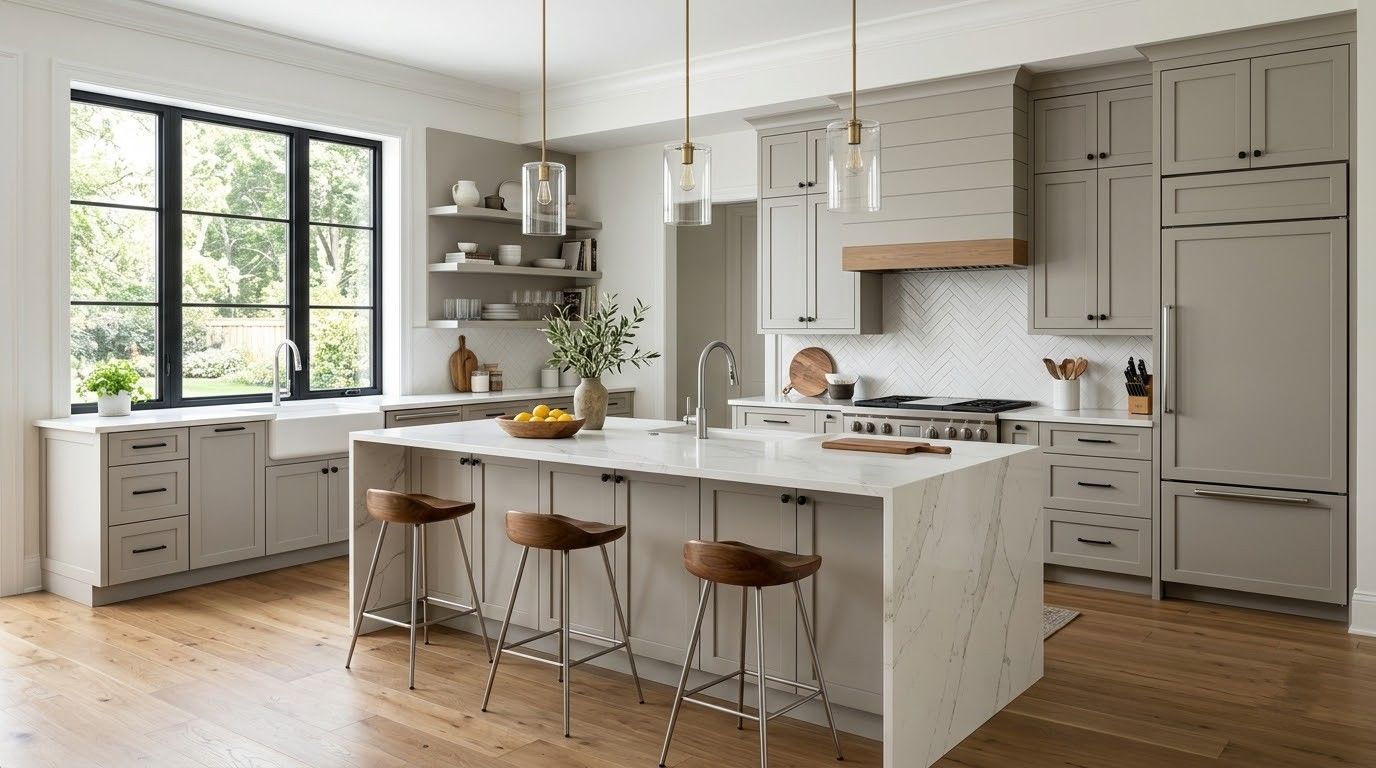
Kitchen Cabinets and Islands
The main event, and the surfaces judged most closely by everyone who walks in. Uppers, lowers, and the island all get identical prep and identical coats, so the color reads consistent from every angle in the room.
SMALL SPACES
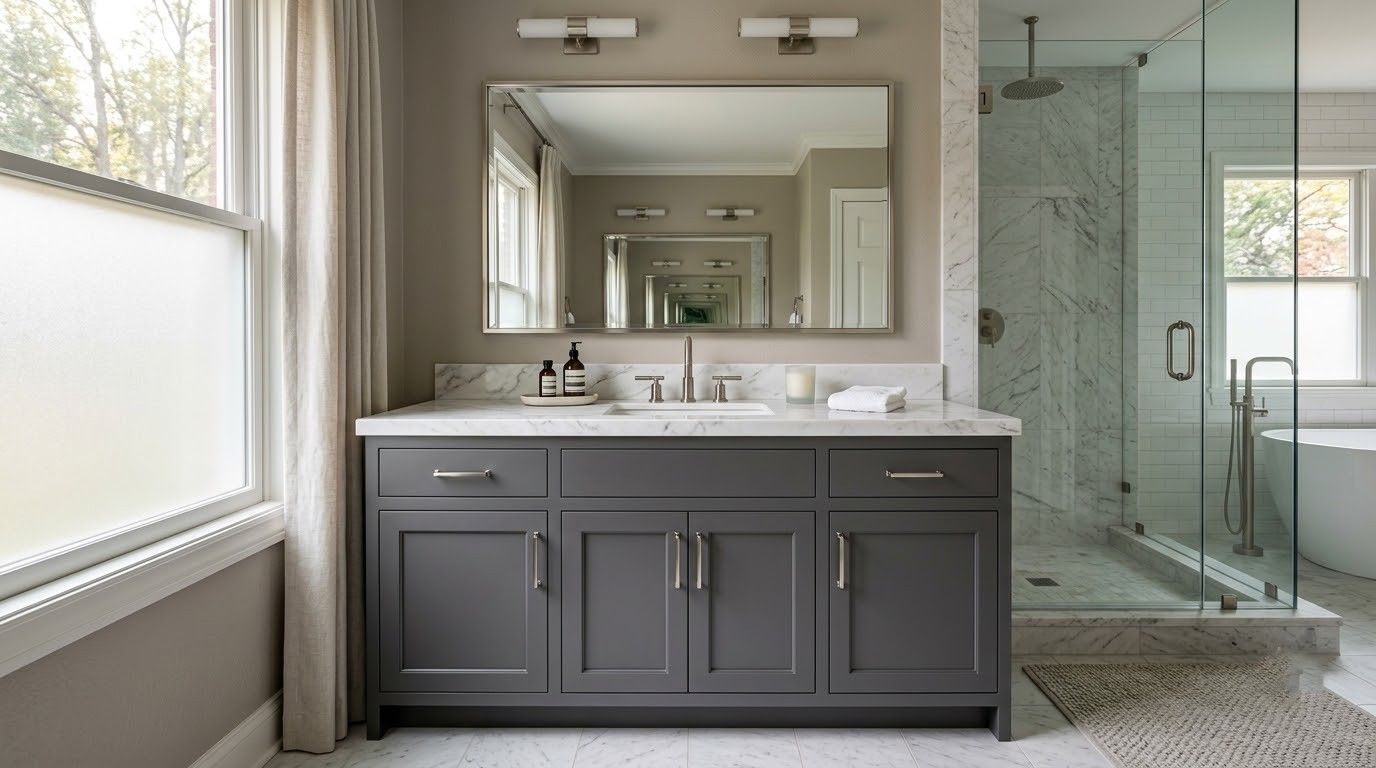
Bathroom Vanities
Constant humidity and daily splashing make these harder than they look at first glance. Moisture-tolerant coatings and careful sealing along the sink edge and backsplash keep the finish from lifting where standing water collects.
OPEN STORAGE
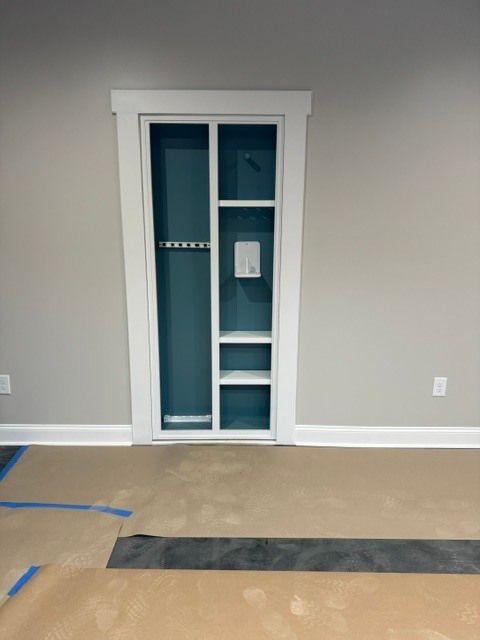
Built-Ins and Bookcases
Shelving, window seats, and media walls tie a room together when they match the surrounding trim. Adjustable shelves come out, get sprayed flat on both faces, and slide back in without sticking in their tracks.
SURFACE SWAP
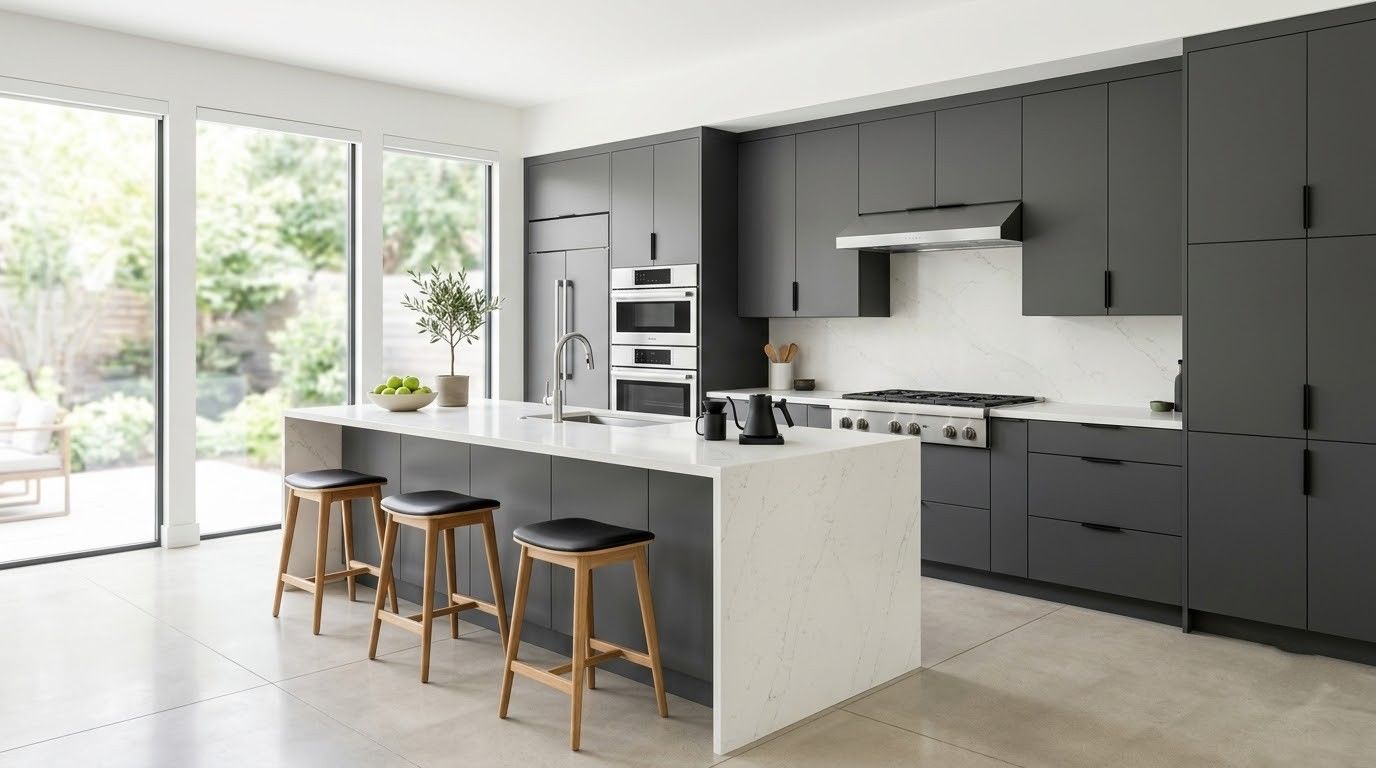
Laminate and Thermofoil Refinishing
Slick factory surfaces reject ordinary primer entirely and shed it in sheets. A specialty bonding product paired with thorough abrasion turns them into something paint will actually grip and continue gripping for years.
GRAIN CONTROL
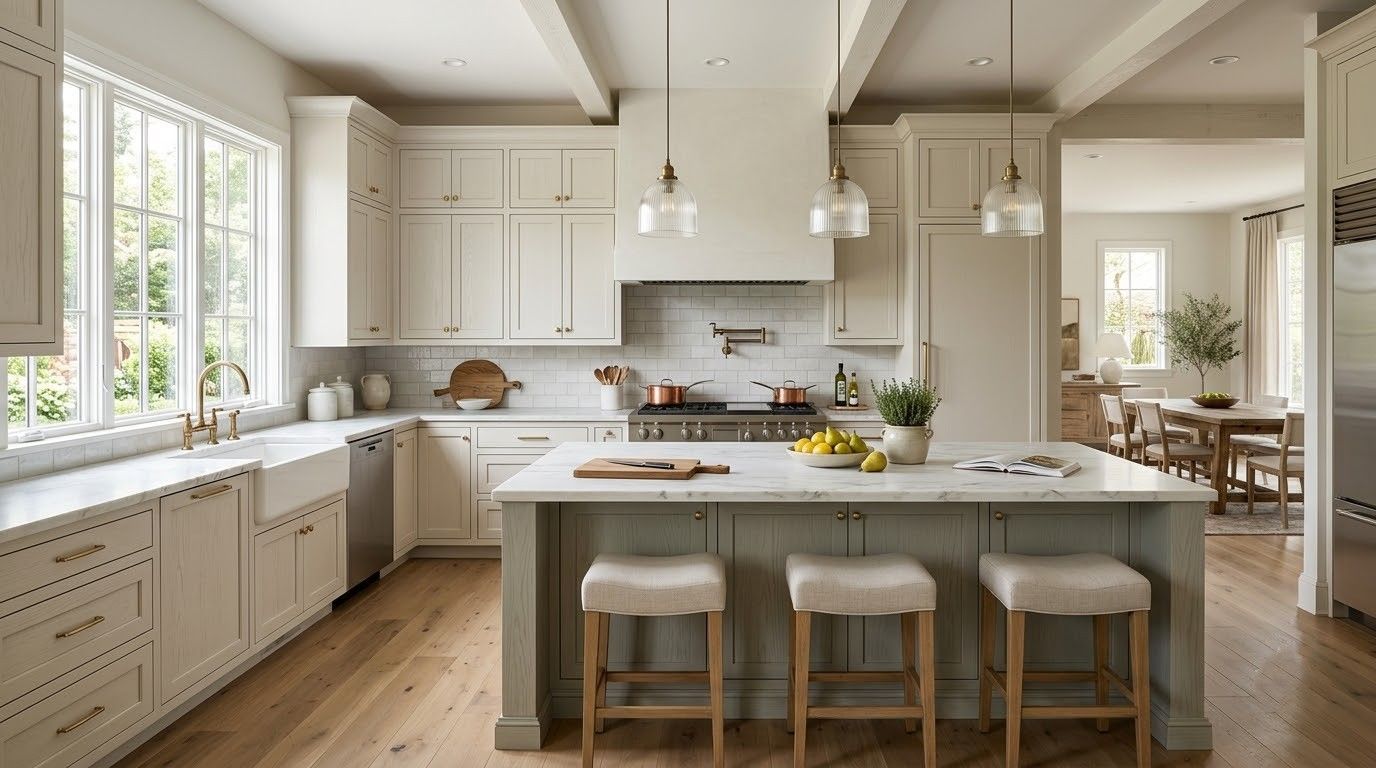
Oak and Open-Grain Cabinets
Deep grain shows straight through paint unless it is properly addressed first. Grain filler and additional sanding passes deliver either a smooth modern face or a subtle visible texture, depending entirely on what you prefer.
FINISHING TOUCH
Hardware and Hinge Updates
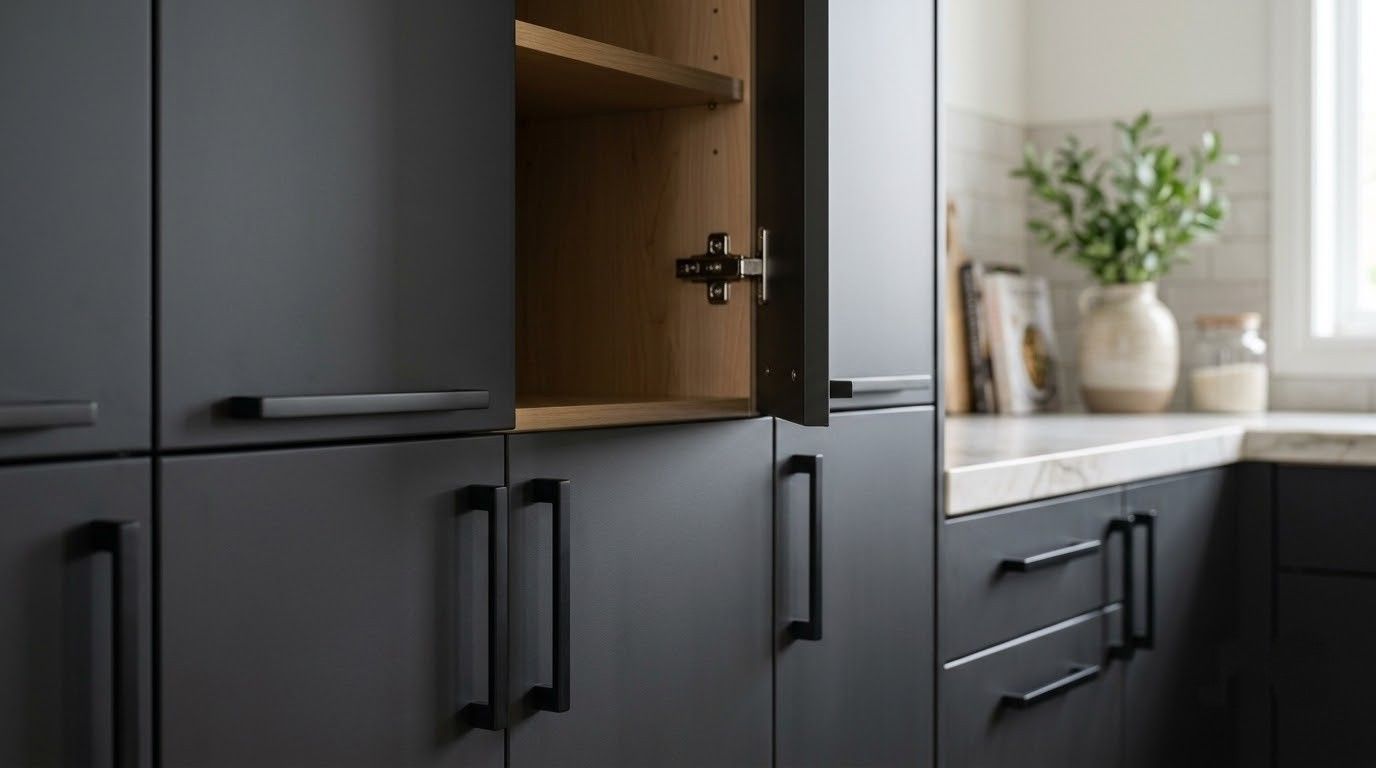
New pulls and soft-close hinges change how the cabinetry feels every single day you use it. Old holes are filled and redrilled to fit modern spacing, so nothing looks retrofitted once the doors go back up.
Common Questions
frequently asked
questions.
Cabinet projects come with a specific set of worries: durability, downtime, and whether it will look sprayed or brushed. These are the answers we give most.
Do you have to sand cabinets before painting?
Yes, at least a thorough scuff sand. Factory finishes are slick and cabinets carry cooking grease, so degreasing and abrading both come first. Skipping either step is the main reason painted cabinets chip.
How long do painted kitchen cabinets last?
A properly prepped and sprayed finish holds up 8 to 10 years in a busy kitchen and longer in a lighter-use one. Doors near the stove and sink wear first and can be redone alone.
Is it cheaper to paint or replace kitchen cabinets?
Refinishing typically costs a fraction of replacement because the boxes, counters, and plumbing all stay put. Replacement only makes sense when the boxes are failing or the layout has to change.
How long does a cabinet painting project take?
Most kitchens run 4 to 7 days from the first sanding to reinstalled doors. Curing continues afterward, so we ask you to be gentle with the surfaces for the first couple of weeks.
What kind of paint is best for kitchen cabinets?
Waterborne alkyd and acrylic urethane enamels give the hardest, smoothest cure available for cabinetry. Spartan Painting Services uses cabinet-rated products on every Greenville, SC kitchen rather than ordinary wall paint.
Can laminate or thermofoil cabinets be painted?
They can, with a specialty bonding primer and careful abrasion. Peeling thermofoil has to be repaired or the door replaced first, since paint will not hold a surface that is already lifting.
Will the wood grain still show through?
On oak and ash it will, unless grain filler is applied. We ask which look you want early, because filling adds sanding passes and changes both the timeline and the final texture.
Do you paint the inside of the cabinets too?
Interiors are optional and priced separately. Most people finish only the visible faces and frames, though glass-front cabinets look better done. Spartan Painting Services has asked that question on Greenville, SC kitchens for 10+ years.
We Measure the Opening
STEP 02
Our team takes accurate field measurements of the existing opening, frame, and threshold, since even small discrepancies can cause ordering errors or installation delays later in the process.
HOW WE WORK
FROM FIRST DOOR OFF TO LAST PULL ON, HERE IS HOW.
STEP 01
Review the Cabinetry With You
We check the material, the condition of the boxes, and how squarely the doors sit in their openings. Color, sheen, and hardware plans get settled here, so the quote reflects the finish you actually want.
STEP 02
Remove and Label Everything
Doors, drawer fronts, hinges, and pulls come off and get numbered individually, so each piece returns to its original opening at the end. Nothing gets mixed up between similar-looking cabinets across the room.
STEP 03
Degrease and Sand
Every surface gets cleaned with a proper degreaser, then abraded by hand until the factory sheen is completely gone. This is the least glamorous step in the process and the one that decides whether the finish lasts.
STEP 04
Prime and Fill
A bonding primer goes on first, followed by filling for dents, old hardware holes, and open grain if you asked for a glass-smooth look. Then every surface is sanded flat again before color.
STEP 05
Spray the Finish Coats
Doors and drawers are sprayed off the cabinet in a contained area, and the boxes are sprayed in place behind plastic. Multiple thin coats build a hard, even surface with no brush or roller texture.
STEP 06
Reinstall and Adjust
Everything goes back into its labeled opening, hinges are adjusted until the doors line up across the run, and new hardware is set. We walk the finished kitchen with you before the plastic comes down.