Drywall Finishing
DRYWALL FINISHING in Greenville, SC.
Finishing is where a wall stops being construction and becomes a room. Tape, compound, and sanding decide whether the surface reads flat or shows every joint the moment a lamp is switched on. Spartan Painting Services finishes drywall to a specified level across Greenville, SC.
LEVELS ARE A SPEC, NOT A SUGGESTION.
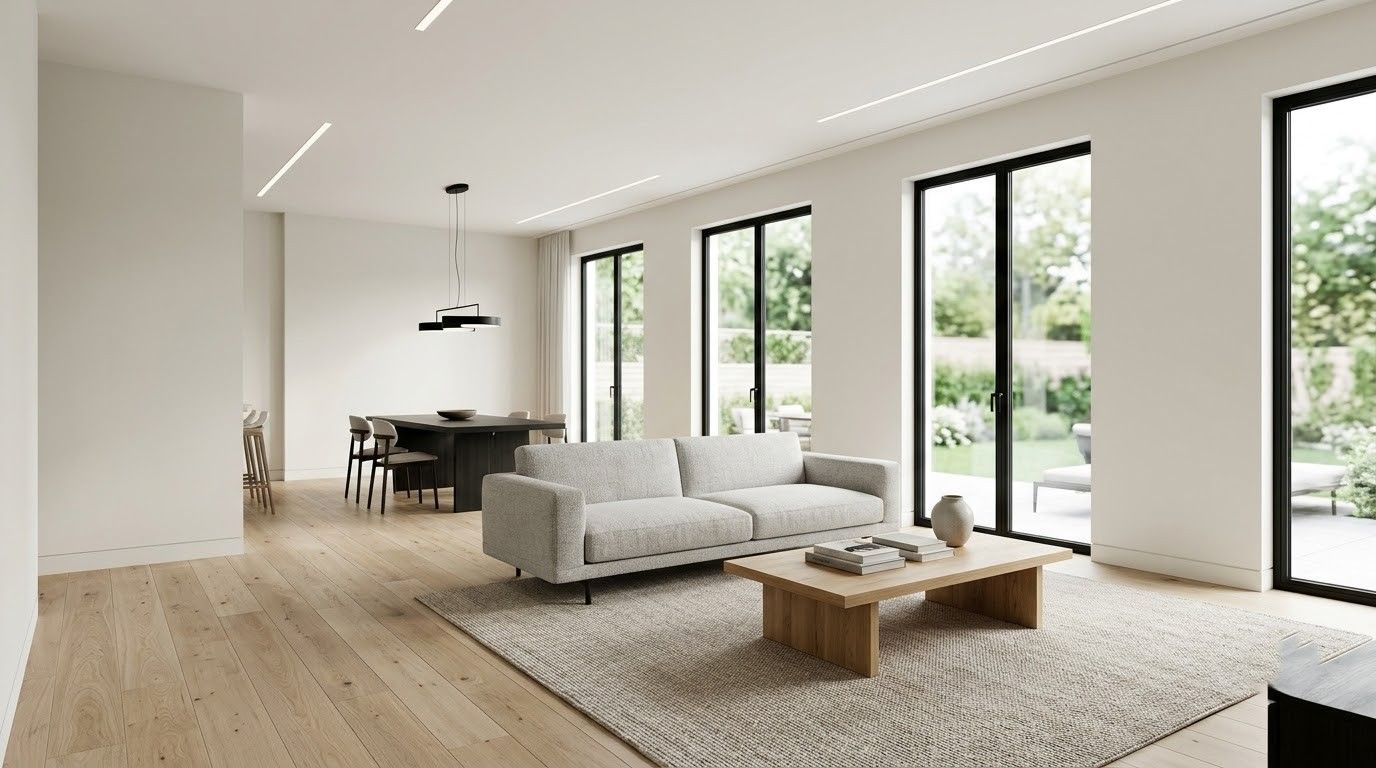
There are 6 recognized finish levels, and most disputes between builders and homeowners come from nobody naming one. We do that in writing. Level 4 for standard walls under flat paint, level 5 where gloss, big windows, or wall sconces will expose everything, and lower levels only where the surface will be hidden.
Getting there is unglamorous: tape, three coats of compound with full drying between them, wide feathering, and sanding under raking light rather than overhead light.
- Finish level agreed and written into the scope
- Three coats of compound with full drying between
- Joints feathered wide and checked in raking light
- Dust-controlled sanding with containment in place
DRYWALL FINISHING
RAKING LIGHT IS THE ONLY HONEST INSPECTOR.
Overhead light forgives everything. Turn on a floor lamp beside the wall, or wait for the afternoon sun to come through a window at a low angle, and every ridge, dimple, and unfeathered edge appears at once. That is the light we finish under, because it is the light you will eventually see the wall in every day.
BIG WINDOWS AND BRIGHT ROOMS RAISE THE BAR.
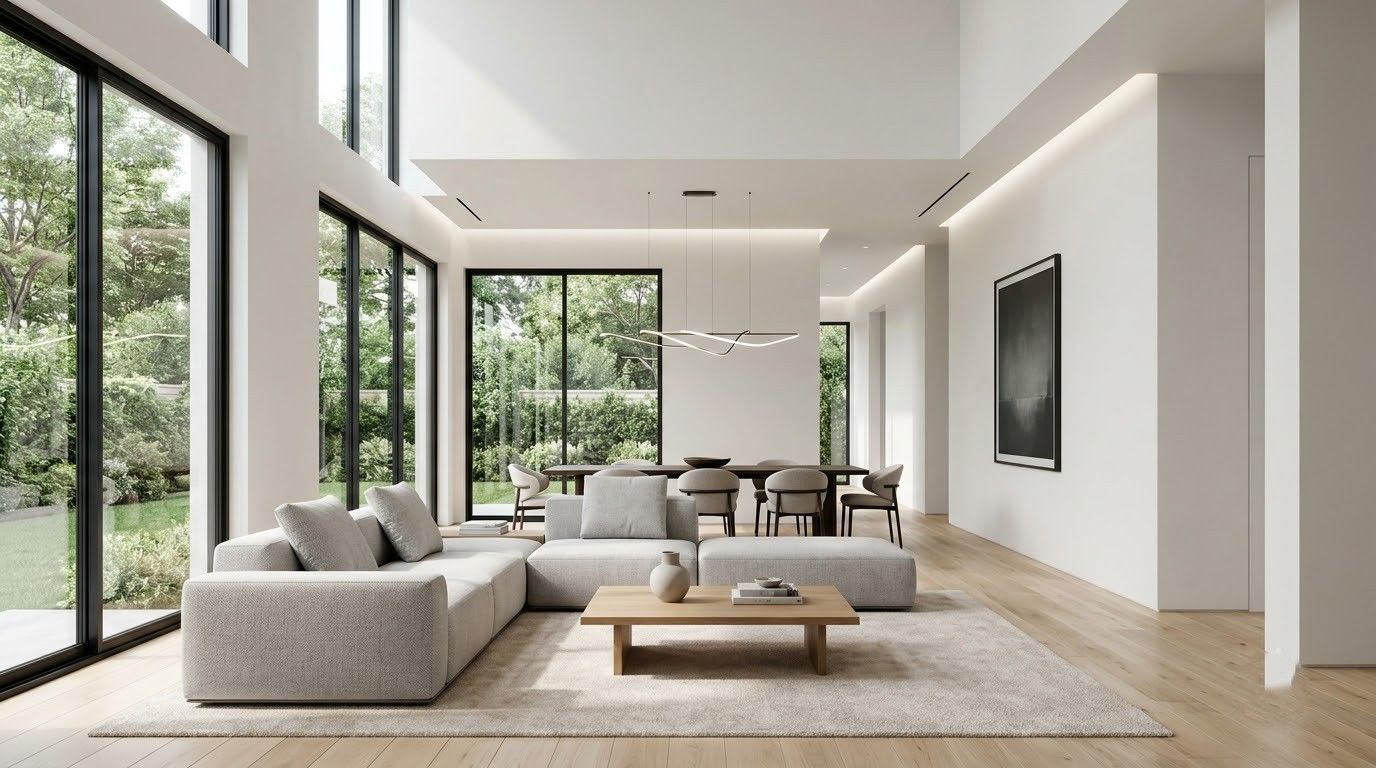
Upstate homes lean toward open plans, tall windows, and long uninterrupted walls, all of which are unforgiving. A great room with a two-story window wall will show a level 4 finish that would look flawless in a bedroom. We flag those rooms during the walkthrough and recommend the level that matches the lighting rather than the one that matches the smallest budget.
10+ YEARS OF SMOOTH WALLS.
Enough finishing to know that the third coat is where patience pays, that sanding too aggressively exposes tape edges, and that a skim coat done well makes the painter's job easy and one done poorly makes it impossible. That experience is why our surfaces take primer evenly and hold color without flashing. Want to know which finish level your rooms actually need?
WHAT THE RIGHT FINISH LEVEL DELIVERS
FLAT WALLS IN ANY LIGHT
Properly feathered joints and a correctly built surface mean lamps, sconces, and low winter sun reveal a clean plane rather than a detailed map of exactly where every seam was placed.
PAINT THAT LOOKS EVEN
Consistent porosity across board and compound stops the flashing and sheen variation that makes an otherwise fresh coat of paint look blotchy over every taped joint and fastener head.
A SURFACE READY FOR GLOSS
Higher sheens magnify absolutely everything underneath them. A full skim coat lets you use satin or semi-gloss on a wall without regretting the decision on the first genuinely sunny afternoon.
WALLPAPER AND FINISH OPTIONS
Smooth, sealed surfaces accept wallpaper, limewash, and specialty decorative finishes cleanly, which keeps your future design choices wide open instead of quietly locked in by a heavily textured wall.
FEWER CALLBACKS
Getting the substrate right the first time avoids the exhausting cycle of painting, spotting flaws, patching, and repainting that eats far more time and money than the extra coat would have.
CLEAR EXPECTATIONS UPFRONT
Naming the level in the written scope means everyone agrees on what finished actually looks like before work begins, which is how disagreements at the final walkthrough get avoided entirely.
WHAT WE FINISH
OUR DRYWALL FINISHING WORK.
Six finishing services cover what most projects need. The right one depends on the room, the lighting, and what is going on the wall afterward.
TAPE WORK
Taping and Joint Treatment
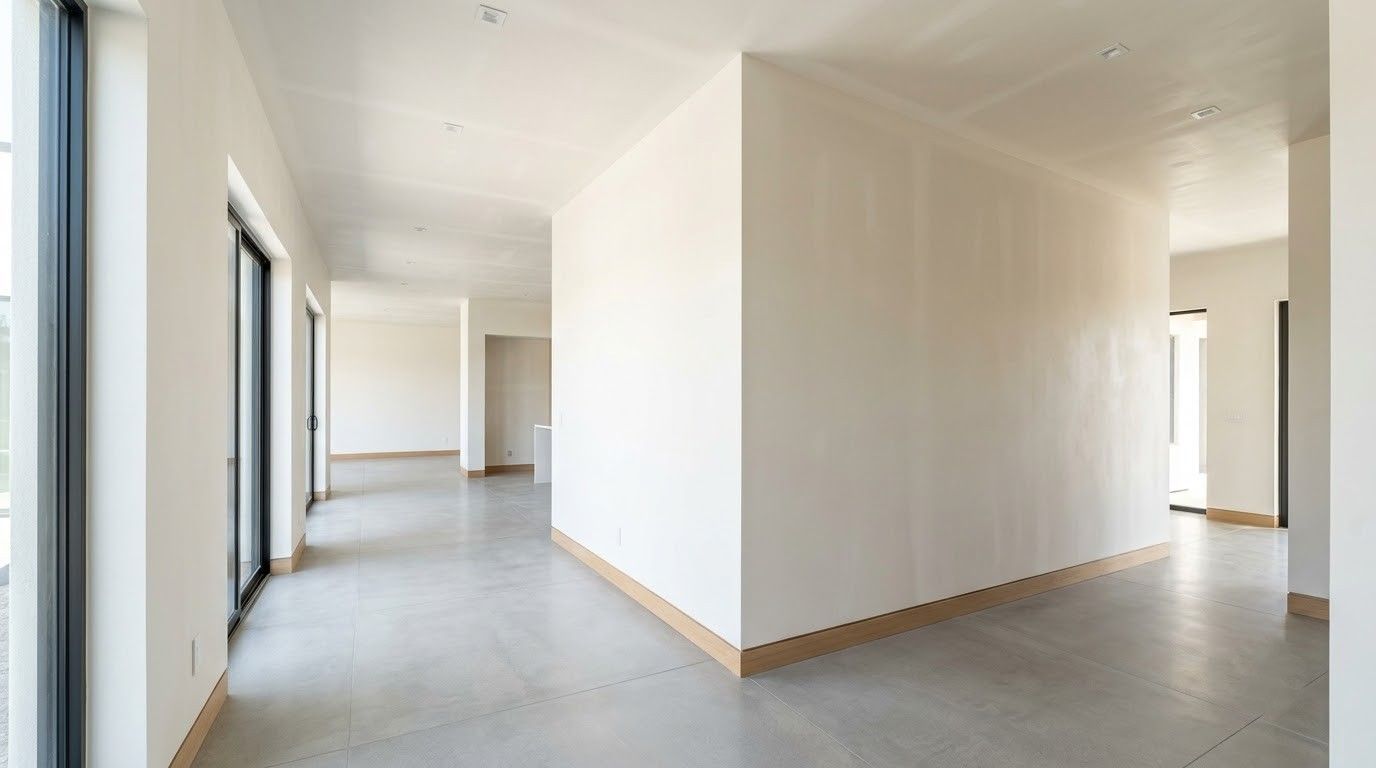
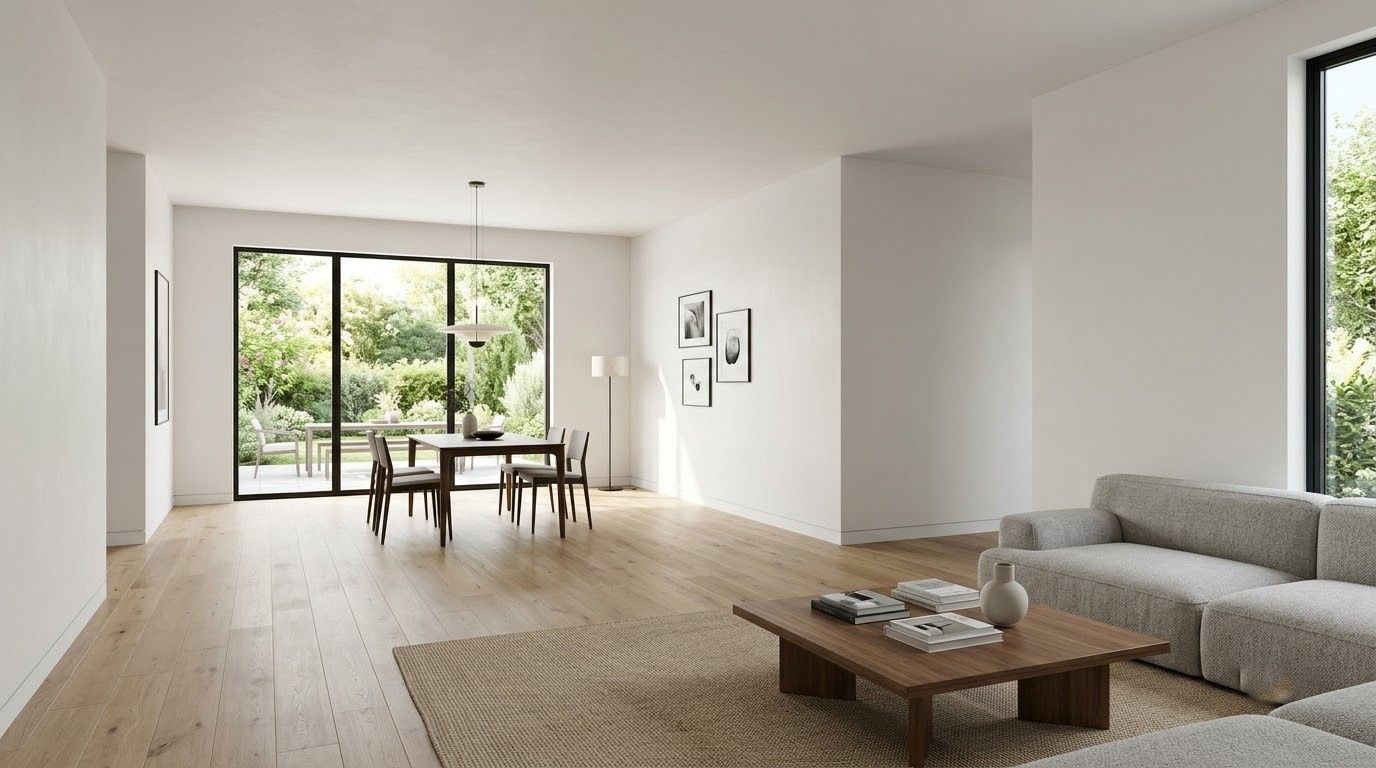
The foundation coat that everything else rests on. Paper or mesh tape is embedded in compound across every seam and inside corner, setting the alignment that all the subsequent coats simply refine.
BUILD COATS
Second and Third Coat Application
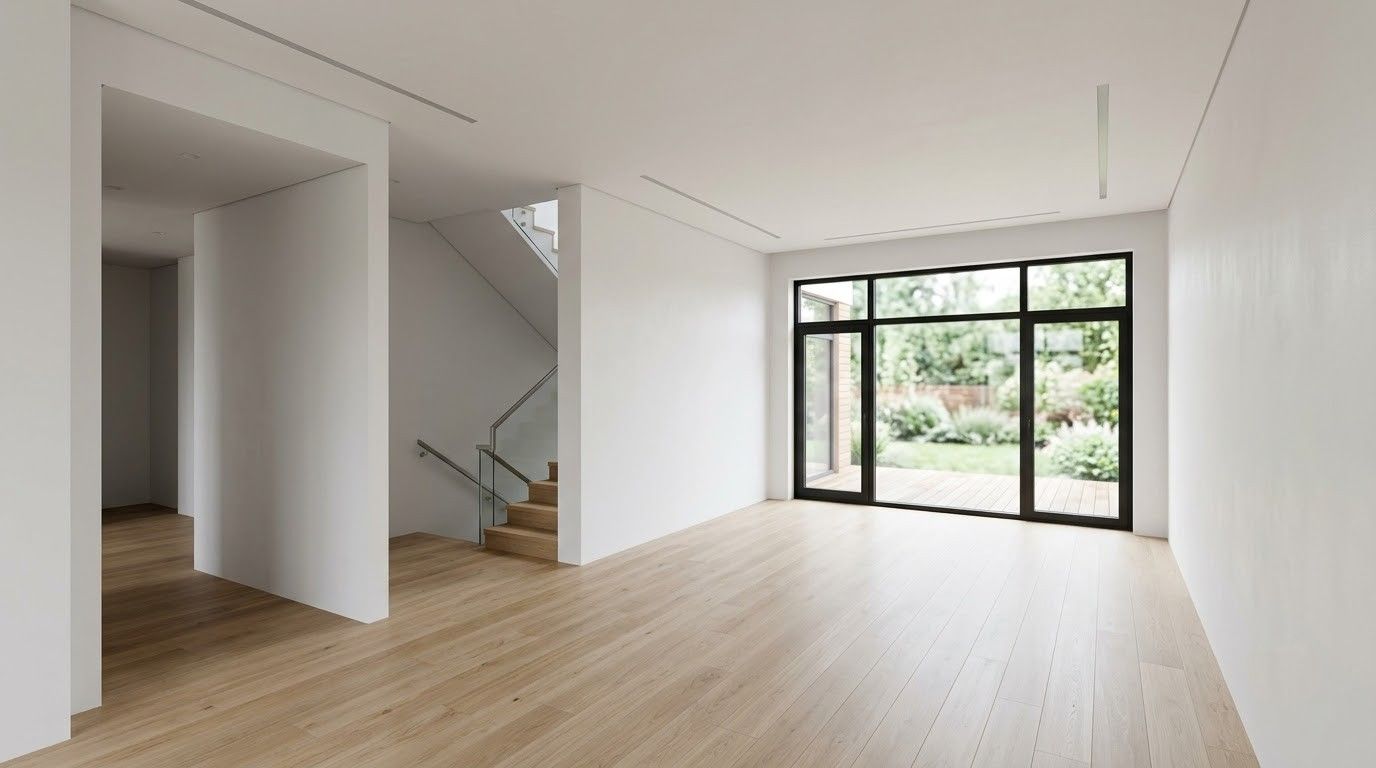
Each pass goes on thinner and noticeably wider than the one before it. Building the joint up gradually is what turns a visible seam into a gentle transition nobody can find with their fingertips.
GLASS SMOOTH
Level 5 Skim Coating
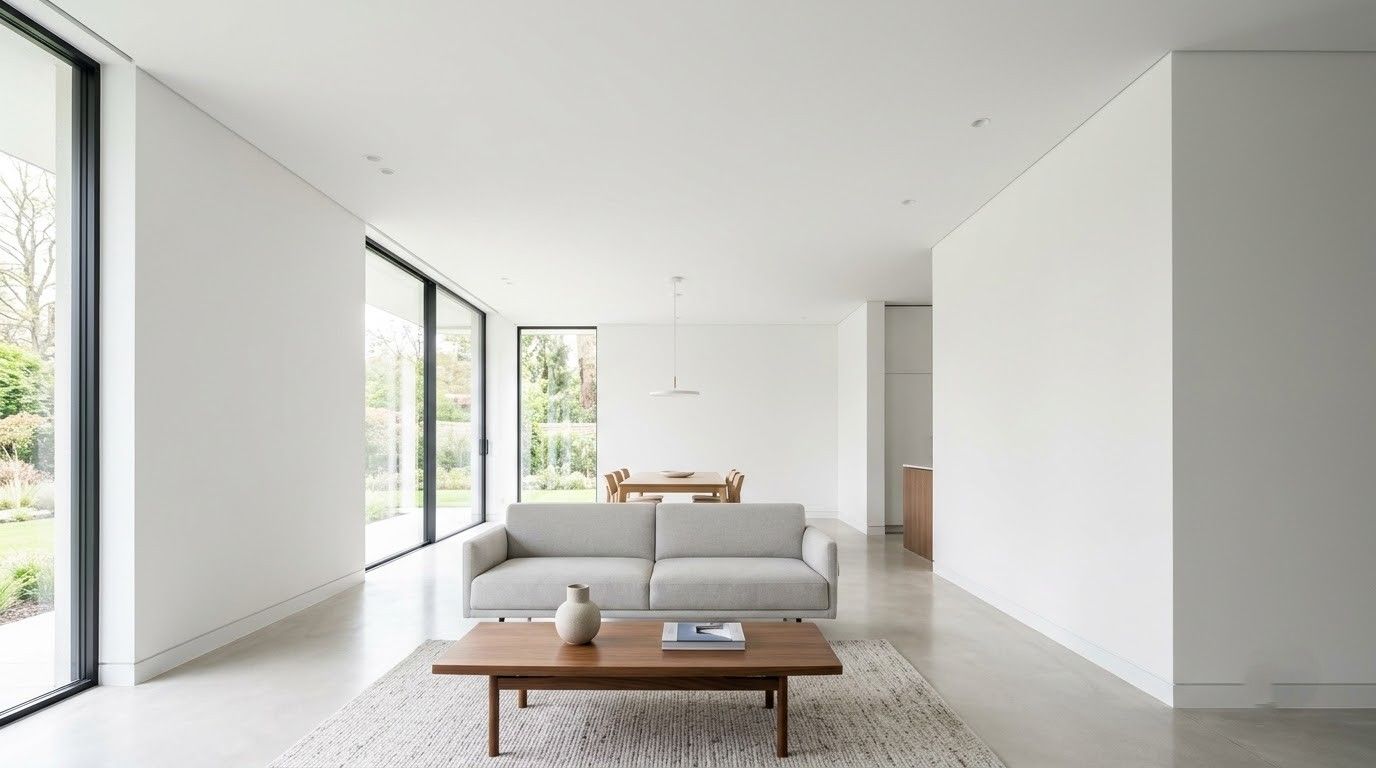
A thin compound layer across the entire surface equalizes porosity and eliminates any remaining texture difference. Reserved for gloss paint, dramatic lighting, and the long open walls that show everything.
SURFACE STYLE
Texture Application
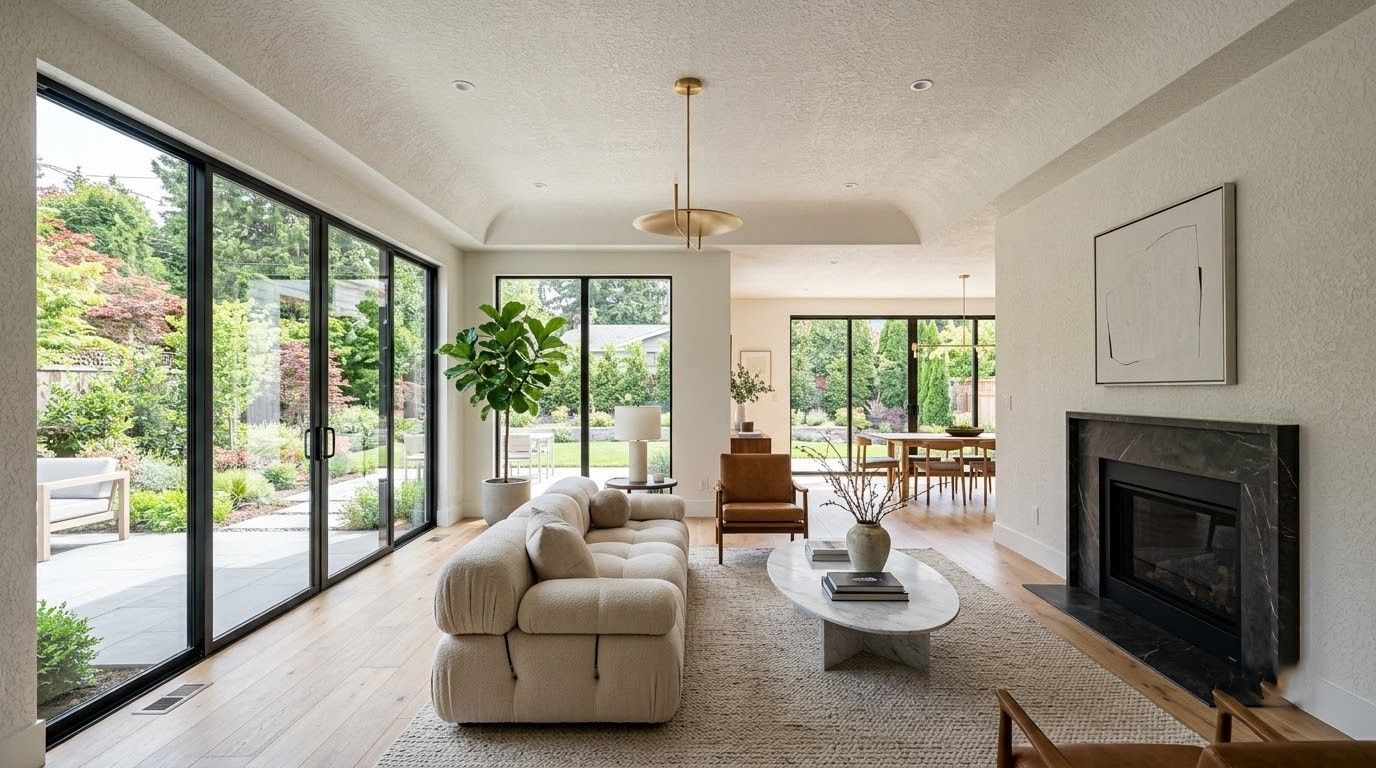
Knockdown, orange peel, and hand-troweled finishes applied consistently across a whole room, or carefully matched to existing work elsewhere in the house so the new area never reads as new.
DUST CONTROL
Sanding and Surface Prep
Pole sanding, hand detailing at the corners, and vacuum-assisted tools keep airborne dust down substantially. Surfaces are then wiped clean so primer bonds to solid compound rather than to loose powder.
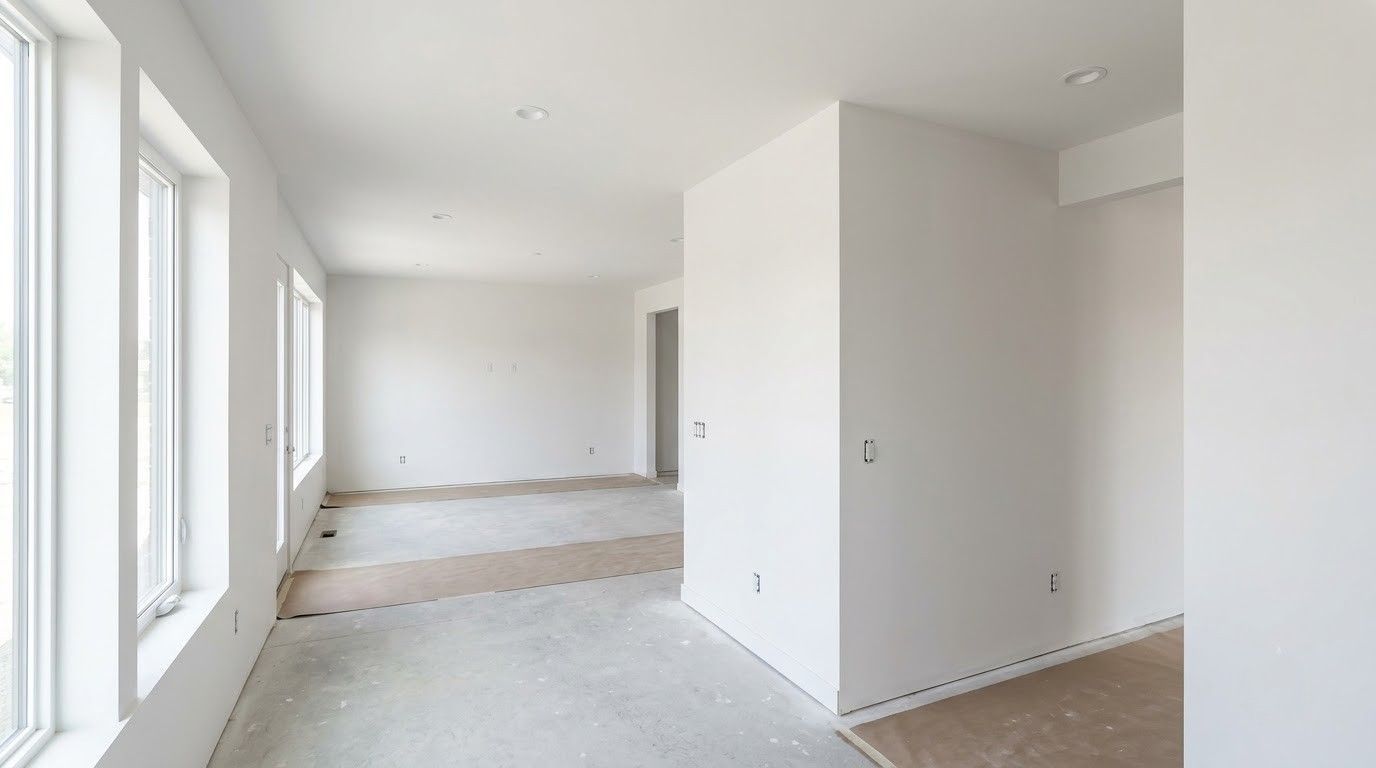
READY TO PAINT
Priming for Paint
A dedicated drywall primer seals both the board and the compound at the same rate. This is the single step that prevents joint flashing from showing through your finish color later.
Common Questions
frequently asked
questions.
Finishing questions center on levels, coats, drying time, and dust control. These are the ones that come up in almost every conversation we have before the compound comes out.
What are the levels of drywall finish?
There are 6, numbered 0 through 5. Level 4 is standard for walls taking flat paint, and level 5 adds a full skim coat for glossy finishes or rooms with strong side lighting.
How many coats of joint compound are needed?
Three is standard: a taping coat, a fill coat, and a finish coat. Each is applied wider than the last, and skipping one is the usual reason seams remain visible afterward.
What is a level 5 finish and do I need one?
It is a thin skim coat across the entire surface. You want it for satin or semi-gloss paint, large windows, dark colors, and long walls where side lighting will be unforgiving.
How long does drywall finishing take?
Plan on 3 to 5 days for an average room. Most of that is drying time between coats, which humidity extends, so rushing the schedule shows up as cracking or shrinkage later.
Can you finish drywall without creating dust everywhere?
Largely. Vacuum-assisted sanders, containment plastic, and sealed vents keep the majority of it in the work area. Spartan Painting Services uses that setup on every occupied Greenville, SC home.
Why do my seams show after painting?
Usually flashing, where compound and board absorb primer at different rates. A proper drywall primer over the whole surface fixes it, and a skim coat prevents it in demanding lighting.
Should drywall be primed before painting?
Always, without exception. Bare board and dried compound have very different porosity, and finish paint applied directly to them will look uneven no matter how many coats you put on.
Can existing textured walls be made smooth?
Yes, by skim coating directly over the texture. It takes multiple coats and careful sanding, and after 10+ years in Greenville, SC, Spartan Painting Services usually recommends it over removal.
We Measure the Opening
STEP 02
Our team takes accurate field measurements of the existing opening, frame, and threshold, since even small discrepancies can cause ordering errors or installation delays later in the process.
HOW WE WORK
FROM FIRST TAPE TO PRIMED SURFACE, HERE IS HOW.
STEP 01
Agree on the Finish Level
We walk the space, note the lighting, window placement, and planned paint sheen, then recommend and document a specific finish level so everyone's expectations are set before any tape or compound gets mixed on site.
STEP 02
Inspect and Prep the Board
Fasteners are checked and reset, damaged paper is addressed, and any gaps wider than the compound can reasonably bridge get filled with setting-type material before the taping stage begins anywhere in that room.
STEP 03
Tape Every Seam and Corner
Tape is embedded in compound across the flats, inside corners, and around every piece of bead. Alignment at this stage determines everything that follows, so it is checked carefully before the coat dries.
STEP 04
Build the Coats
A fill coat and then a finish coat follow, each one wider and thinner than the last, with full drying between them. Corners and bead are detailed separately from the long flat seams.
STEP 05
Sand Under Raking Light
Surfaces are sanded with vacuum-assisted tools and then inspected with a light held flat against the wall. Anything still visible gets another thin coat rather than more aggressive sanding pressure that risks the tape.
STEP 06
Prime and Verify
A drywall primer seals the whole surface at one time. We inspect the walls again after priming, because primer reveals imperfections that bare compound hides, and we correct anything found before painting begins.