
DRYWALL INSTALLATION
DRYWALL INSTALLATION in Greenville, SC.
Straight walls are not luck. They come from framing that was checked, board that was measured before it was cut, and seams that landed where they were planned to land. Spartan Painting Services hangs drywall for additions, basements, and remodels across Greenville, SC.
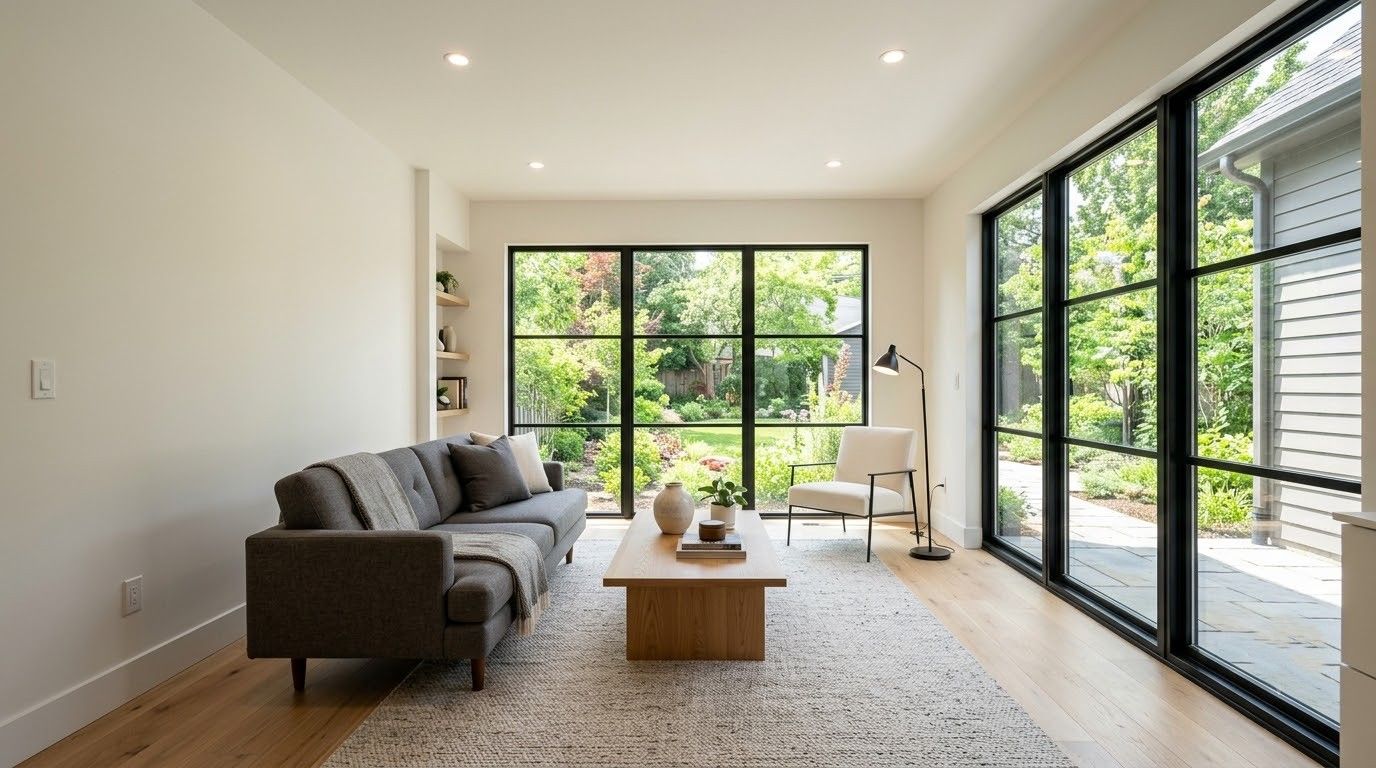
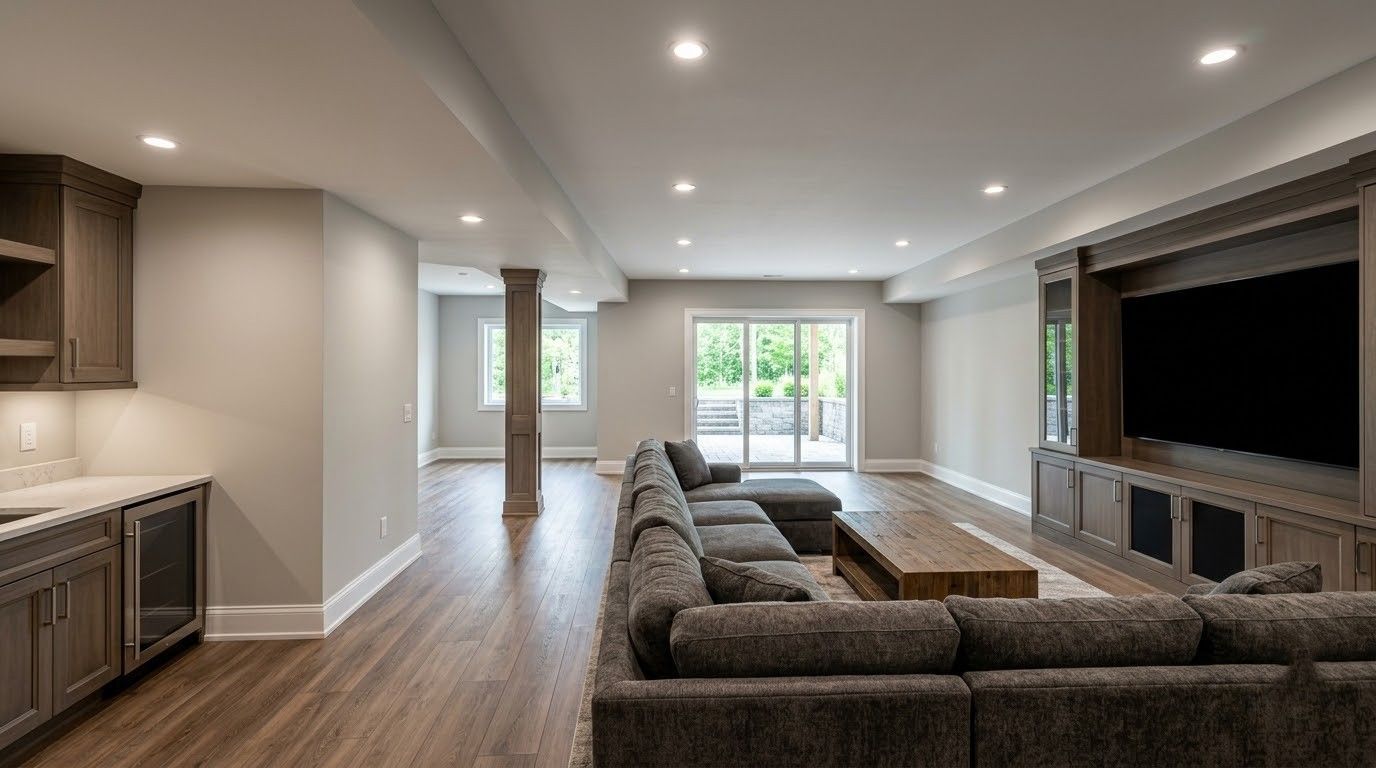
THE HANG DECIDES THE FINISH.
A sloppy hang cannot be saved with mud. Butt joints in the middle of a sight line, screws driven through the paper, and sheets forced over a bowed stud all show up later as ridges, cracks, and shadows under a wall light. We plan the layout first, shim what needs shimming, and set every fastener to the right depth.
Board selection matters just as much. Moisture-resistant panels in wet rooms, thicker board on wide-spaced ceiling framing, and the correct type where fire separation is required.
- Framing checked for plumb, level, and crown before hanging
- Sheet layout planned to minimize butt joints
- Moisture and fire-rated board used where required
- Fasteners set to depth without breaking the paper
DRYWALL INSTALLATION
NEW WALLS SHOULD LOOK LIKE THEY WERE ALWAYS THERE.
An addition that reads as an addition is a failure. Matching plane, texture, and corner detail to the existing house is what makes new space disappear into the old. We tie into existing walls carefully, carry ceiling heights and reveals through the transition, and finish so that the only clue anything changed is the room you gained.
UPSTATE BUILDS BRING THEIR OWN CONDITIONS.
Humidity here works on lumber. Framing that was dry at delivery can move once a house is closed in, and board hung against wet studs will telegraph every bit of that movement. We check moisture before hanging, leave the correct gap at the floor, and use fasteners and adhesive patterns that let assemblies move slightly without cracking at the corners.
10+ YEARS OF HANGING BOARD.
Long enough to have hung basements that flooded before we arrived, garages converted into bedrooms, and second stories added over occupied houses. Those jobs teach layout, dust control, and the value of catching a framing problem before a single sheet goes up rather than after the mud is on. Have a space that needs walls before it needs paint?
WHAT A PROPER HANG SETS UP
FLAT WALLS UNDER LIGHT
Planned sheet layout and correctly set fasteners mean sconces, windows, and low evening sun do not throw shadows across ridges and dimples that no amount of later finishing can fully hide.
FEWER CRACKS LATER
Correct gapping, fastener spacing, and joint placement let the structure move seasonally the way it wants to, without transferring that movement into visible cracks at your corners and door headers.
A FASTER FINISH STAGE
Tight seams and minimal butt joints cut the amount of compound and sanding a room needs, which shortens the overall schedule and sharply reduces the dust generated inside the house.
SPACES THAT HANDLE MOISTURE
The right board in bathrooms, laundries, and basements resists the humidity those rooms generate daily, so walls do not soften, swell, or grow anything unpleasant behind the finished paint.
QUIETER, WARMER ROOMS
Properly fitted board and sealed penetrations improve how a room holds both sound and conditioned air, which is immediately noticeable in a converted garage or a newly finished basement.
A CLEAN CANVAS FOR PAINT
Flat, consistent substrate lets primer and finish coats behave predictably across the surface, so the color you chose looks identical wall to wall rather than blotchy over every taped seam.
WHAT WE HANG
OUR DRYWALL INSTALLATION WORK.
Six project types cover most of the board we hang. Each has its own layout logic, board specification, and coordination with whatever trades came before us.
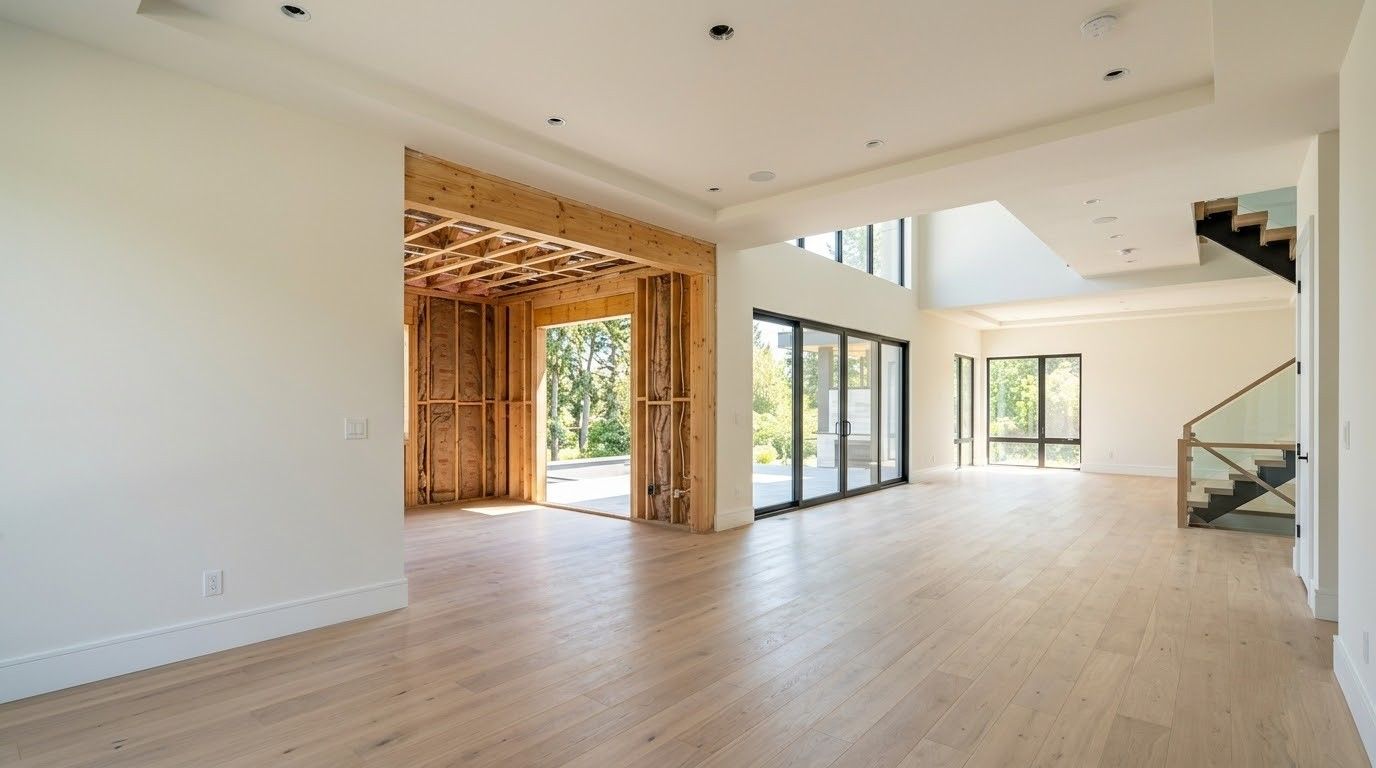
FRESH FRAMING
New Construction and Additions
Whole rooms taken from bare studs up to a paint-ready surface. Sheet layout is planned around windows, doors, and light fixtures so the seams fall where they will be least visible once the space is finished.
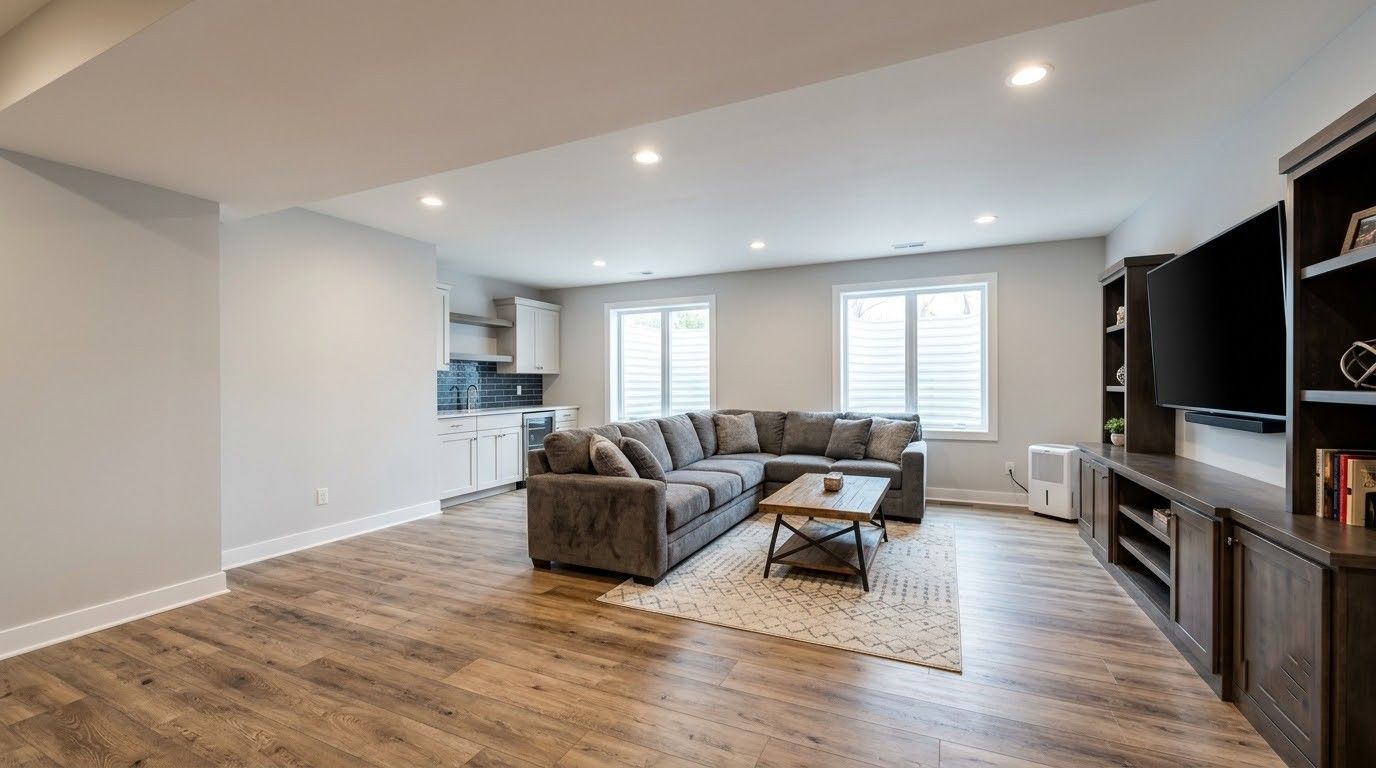
LOWER LEVEL
Basement Finishing
Below-grade spaces need moisture-aware detailing at both the slab and the rim joist. Board is held off the floor and paired with the right insulation strategy, so nothing wicks upward through the wall later.
OVERHEAD
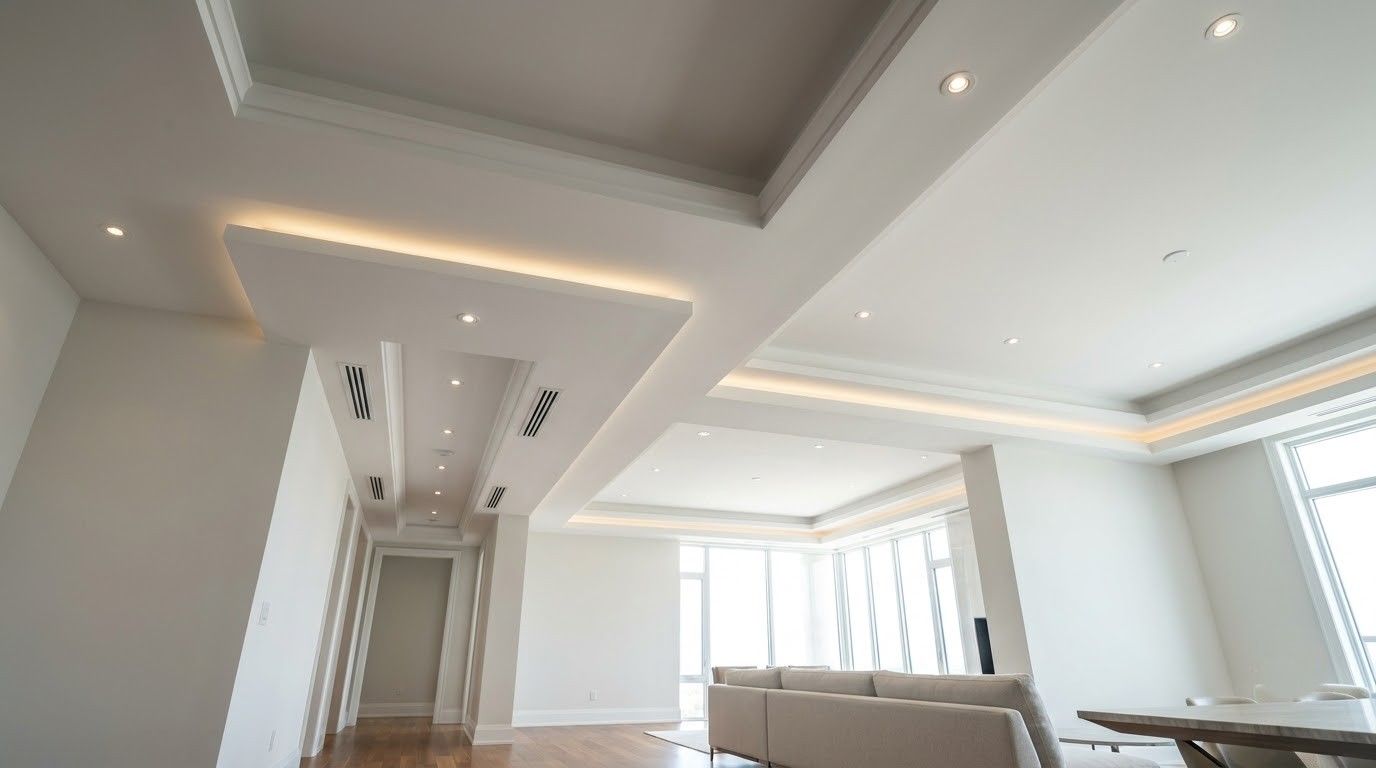
Ceilings and Soffits
Ceilings punish shortcuts because every seam catches side light from a window or fixture. Thicker board on wide-spaced framing and staggered joints keep the whole plane reading flat from one wall to the other.
ROOM SWAP
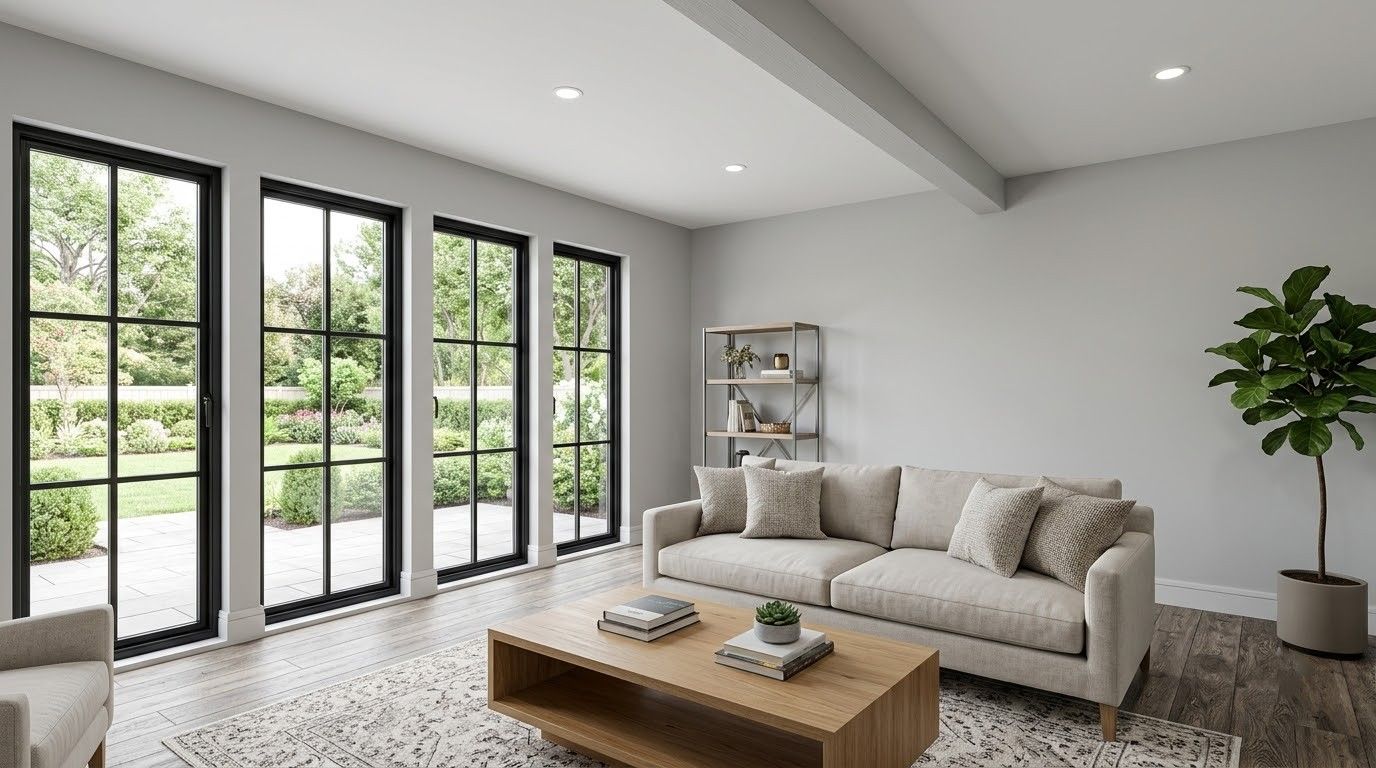
Garage and Attic Conversions
Turning unconditioned space into living space means new framing, added insulation, and often fire-rated assemblies at shared walls. Board specification follows the code path your particular conversion has to satisfy.
WET ROOMS
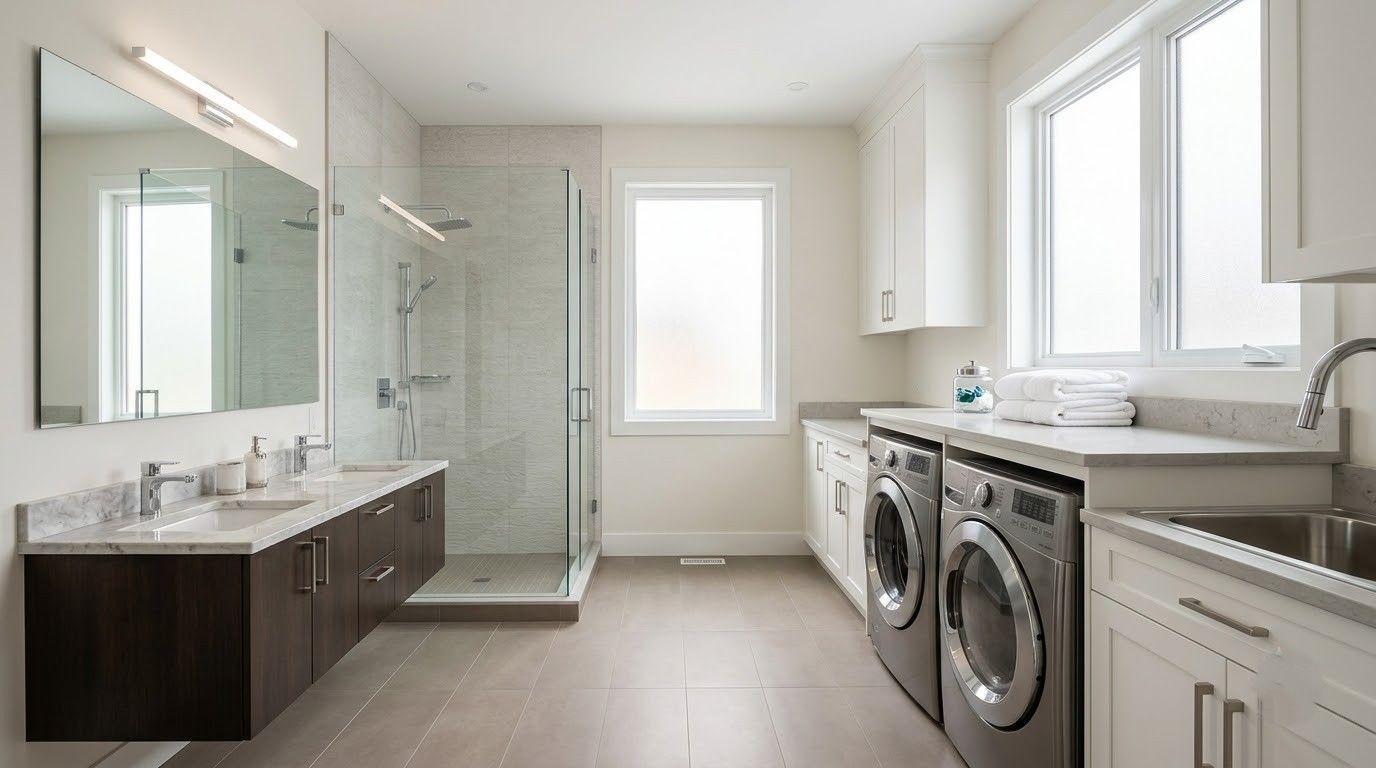
Bathrooms and Laundry Rooms
Moisture-resistant panels behind vanities and cement board inside shower surrounds keep water exactly where it belongs. Penetrations for plumbing and vents are cut tight rather than left oversized and filled with compound.
REMOVE AND REPLACE
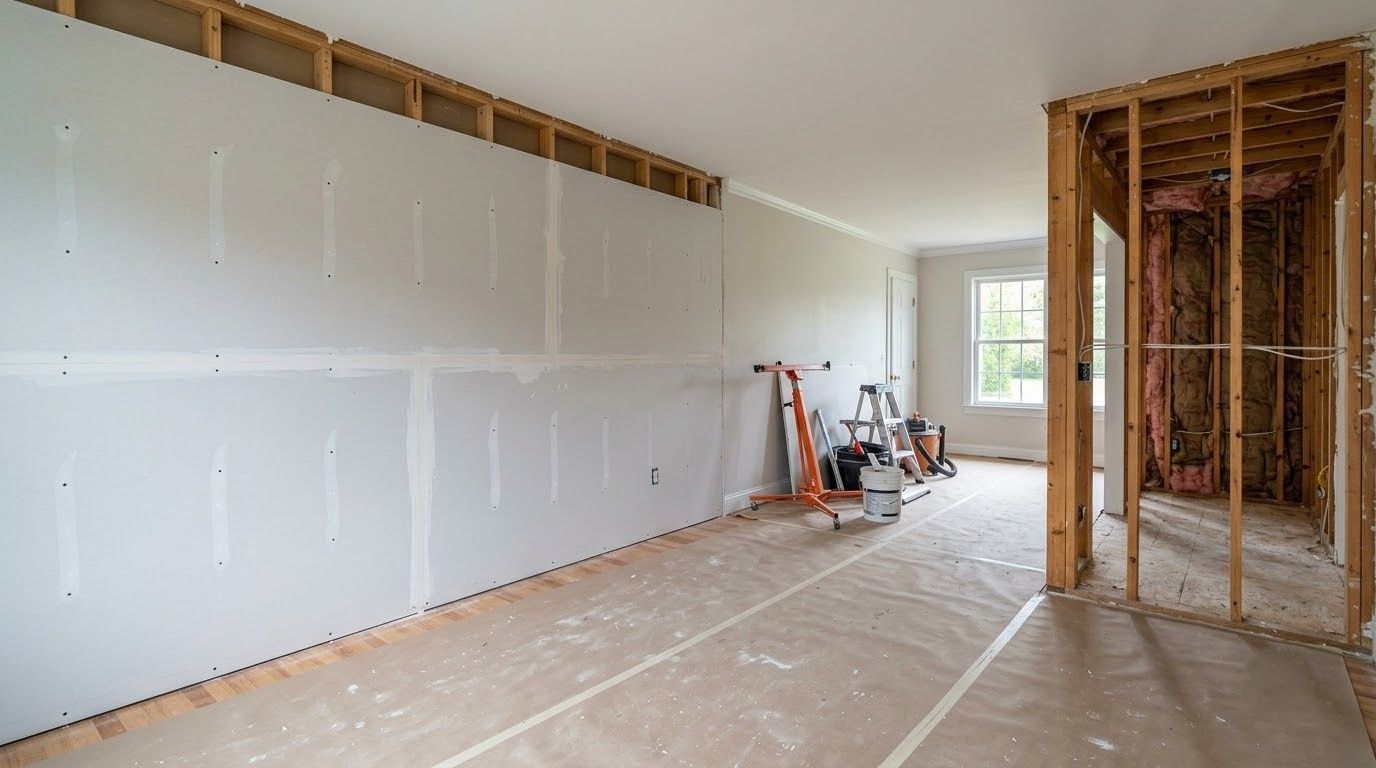
Tear-Out and Reboard
Water damage, gut remodels, and failing old plaster all call for removal first. Debris is contained and carried out of the house, then framing is repaired and dried before any new board goes up.
Common Questions
frequently asked
questions.
Drywall questions usually come down to timeline, board choice, and what happens in between hanging and painting. These are the ones we field most often before a project starts.
How long does drywall installation take?
Hanging an average room takes about a day. Taping, coating, and sanding add 3 to 5 days because each coat of compound needs to dry fully before the next one goes on.
What thickness of drywall should be used?
Half-inch board is the standard choice for walls, and five-eighths is used on ceilings with wide framing and wherever fire rating requires it. Quarter-inch is reserved for curves and layovers.
Do I need moisture-resistant drywall in a bathroom?
For general bathroom walls, yes. Inside a tub or shower surround, cement board or another tile backer is the right call, because moisture-resistant paper board is not a waterproof substrate.
Should drywall touch the floor?
No. A gap of roughly half an inch at the bottom keeps board from wicking moisture off the slab or subfloor. Baseboard covers the gap completely once trim goes on.
Can drywall be installed over existing plaster?
Often yes, if the plaster is reasonably sound and attached. Spartan Painting Services checks the substrate in older Greenville, SC homes before deciding between a layover and full removal.
How much does the framing need to be checked first?
Thoroughly, wall by wall. A single crowned stud or twisted joist telegraphs straight through the finished surface. Shimming or planing framing beforehand costs minutes and saves hours of finishing later.
Do you handle cleanup and debris removal?
Yes. Old board, offcuts, and packaging leave with our crew, and work areas are swept and vacuumed daily. Containment goes up before demolition so dust stays out of the rest of the house.
Can you hang and finish drywall and then paint it?
That is our preference, and it is why homeowners call us for both. Across 10+ years in Greenville, SC, Spartan Painting Services has seen single-crew projects avoid the usual finger-pointing.
We Measure the Opening
STEP 02
Our team takes accurate field measurements of the existing opening, frame, and threshold, since even small discrepancies can cause ordering errors or installation delays later in the process.
HOW WE WORK
FROM BARE STUDS TO PAINT-READY, HERE IS HOW.
STEP 01
Measure and Inspect the Framing
Before ordering any board, we check every wall and ceiling for plumb, level, and crowned members, and confirm that blocking exists wherever fixtures, cabinets, and grab bars will eventually need to mount to the wall.
STEP 02
Specify and Order the Board
Thickness, type, and sheet length are chosen for each area, favoring longer sheets that reduce butt joints in open rooms. Moisture and fire-rated panels are ordered specifically for the rooms and code conditions requiring them.
STEP 03
Prepare and Protect the Space
Floors are covered, adjoining rooms are sealed off with plastic, and the pathways used for carrying sheets are cleared first. Existing finishes near the work area are masked before anything gets carried in.
STEP 04
Hang Ceilings, Then Walls
Ceilings go up first so that the wall sheets can support their edges from below. Sheets are cut tight around every opening, fastened at correct spacing, and set flush without breaking the paper face.
STEP 05
Set Corners and Trim Pieces
Corner bead, bullnose, and J-trim are installed straight and fastened securely, since these edges take the most physical contact and are the first place a poor installation shows itself to everyone who walks past it.
STEP 06
Hand Off Ready for Finishing
We walk the space checking every seam, fastener, and corner against the plan, correct anything found, and remove all debris so the finishing stage begins on a clean, fully verified surface with nothing left outstanding.